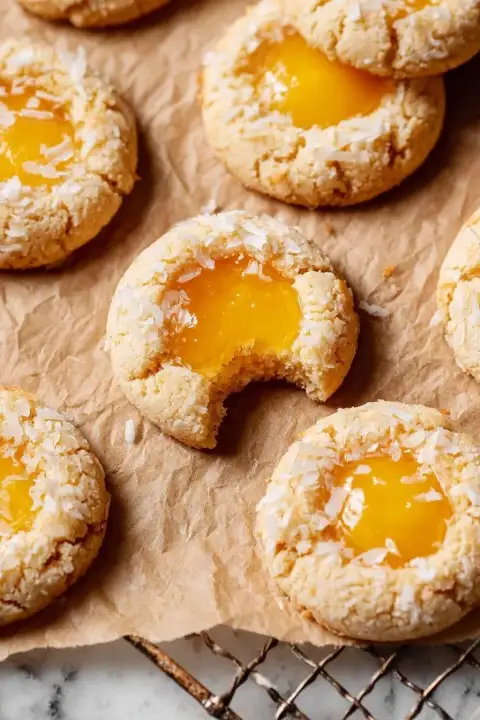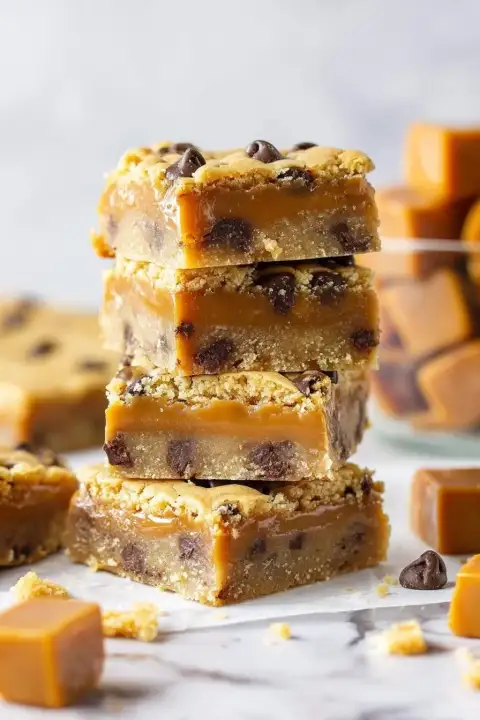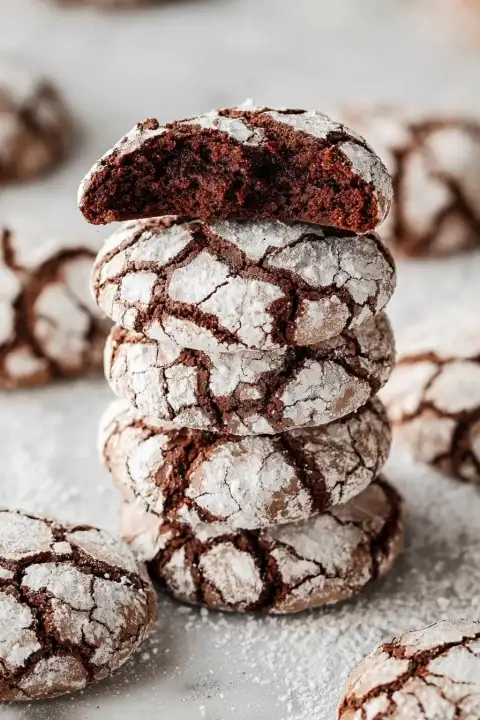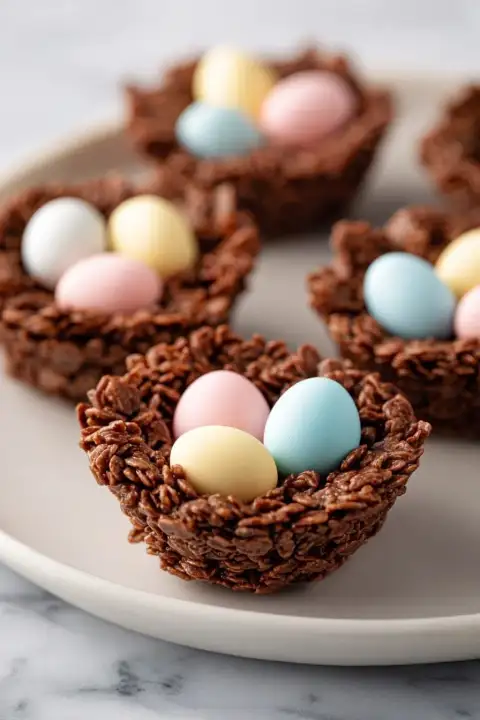

There’s something so comforting about a crisp, buttery cookie with a pop of colorful icing—this Decorative Shortbread Cookies with Icing Recipe absolutely hits that spot. Whether you’re baking for the holidays or just want a fun kitchen project, these cookies come out perfectly tender with charming decorations that will wow everyone.

Why You’ll Love This Recipe
- Deliciously Buttery: The shortbread dough is rich and tender, the perfect base for decorating.
- Fun to Decorate: The icing and decorations let you get creative and add a personal touch.
- Simple Ingredients: You probably have everything on hand, making this an easy go-to cookie recipe.
- Great for Any Occasion: Perfect for holiday gifting, parties, or just treating yourself at home.
Ingredients You’ll Need
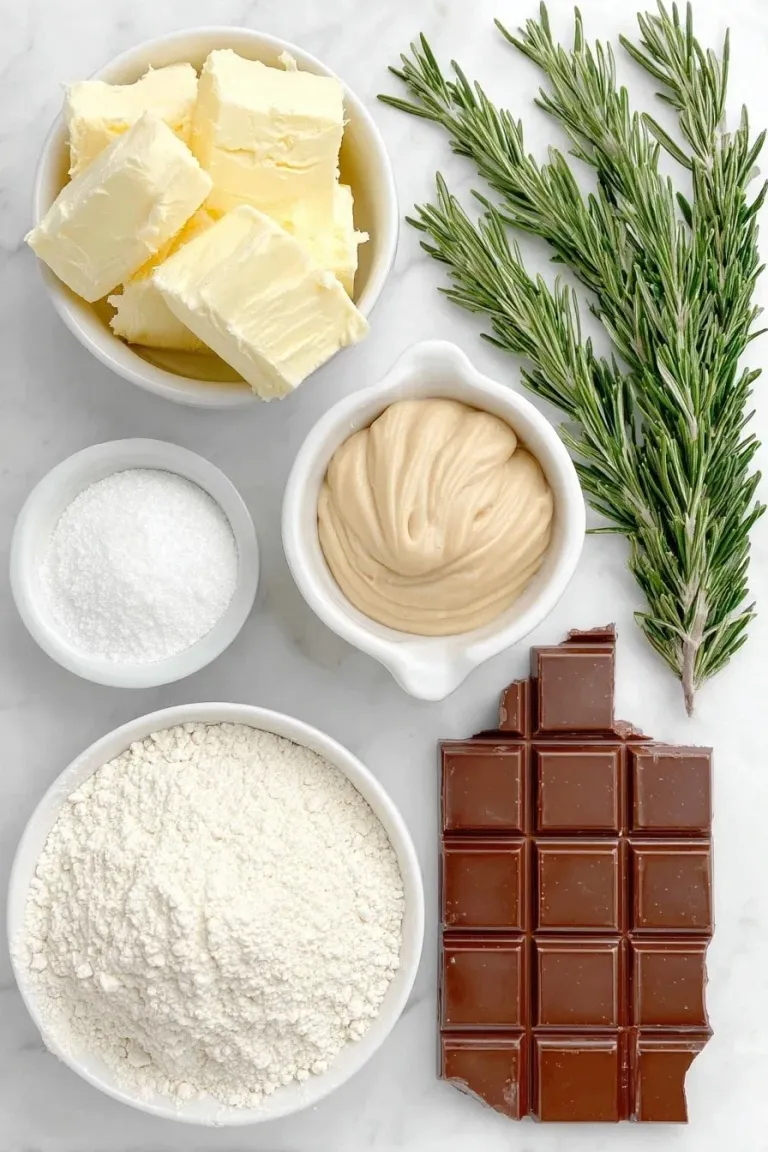
I love how straightforward the ingredients are here—basic pantry staples that blend beautifully for that classic shortbread taste. Using vanilla bean paste adds a special touch of flavor that instantly elevates the cookies.
 Save
- Unsalted butter: Make sure it’s at room temperature so it creams nicely and gives a tender crumb.
- Powdered sugar: Provides smooth sweetness and helps achieve that melt-in-your-mouth texture.
- Vanilla bean paste: Adds natural vanilla flavor with those pretty specks; you can use extract if needed.
- Salt: Just a pinch to balance the sweetness and enhance flavor.
- All-purpose flour (or gluten-free): Forms the dough structure—use gluten-free if necessary for dietary needs.
- Cornstarch: Makes the shortbread extra tender and crumbly.
- Milk (for icing): Helps thin out the powdered sugar for smooth dipping icing.
- Vanilla extract (for icing): Infuses the icing with subtle sweetness and depth.
- White chocolate: Perfect for decorating details with a creamy finish.
- Rosemary sprigs, sprinkles, sanding sugar: For beautiful, festive embellishments.
- Oil-based red food coloring: Must be oil-based to mix smoothly with melted white chocolate without seizing.
Variations
This recipe is so versatile—I’ve played around with different decorations and flavors to make it really mine. Feel free to experiment to find what makes these cookies uniquely yours.
- Herb-Infused Wreaths: I adore how fresh rosemary in the wreath cookies adds a lovely aroma and pairs perfectly with shortbread’s buttery flavor.
- Chocolate Dipped: Dipping half the cookie in melted dark or milk chocolate is an easy upgrade I recently tried and everyone loved.
- Gluten-Free Option: Swapping in gluten-free flour made these just as tender, so don’t hesitate if you need that swap.
- Flavored Icing: Add a few drops of almond or peppermint extract to the icing for a holiday twist that’s a total crowd-pleaser.
How to Make Decorative Shortbread Cookies with Icing Recipe
 Save
Step 1: Cream the Butter and Sugar Until Silky
Start by adding softened unsalted butter to your mixer bowl and beat it at medium-high speed for 1 to 2 minutes until it’s smooth and creamy. Scrape down the sides, add powdered sugar, and beat for another minute. This step creates the silky base, so don’t rush it! You’ll notice the mixture getting light and fluffy—this helps the cookies melt in your mouth.
Step 2: Add Flavors and Dry Ingredients
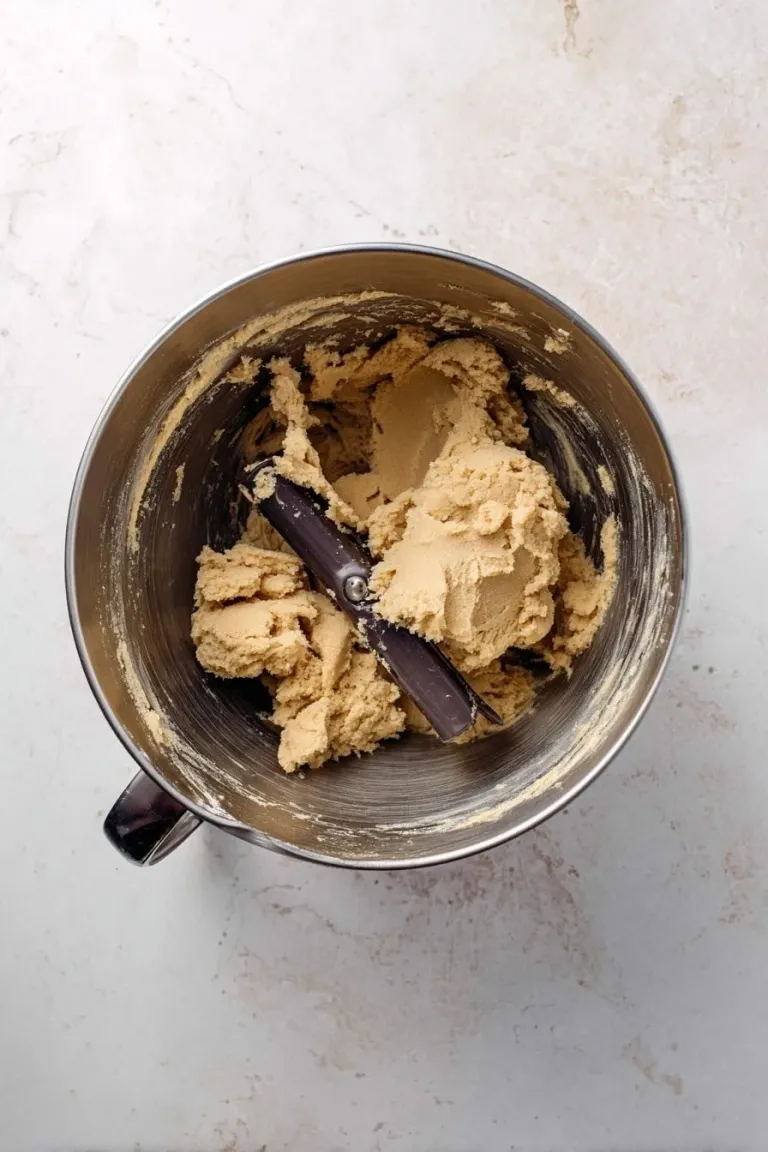
Mix in the vanilla bean paste and salt until fully incorporated, scraping the bowl as needed for even mixing. Now, on a lower speed, add the all-purpose flour and cornstarch. It’ll look crumbly at first, so keep scraping and beating gently until it pulls together into a dough. You’ll want to stop just as it forms a ball—don’t overwork the dough or the cookies might get tough.
Step 3: Chill and Roll the Dough
Cover the dough with plastic wrap and chill for 30 minutes—this is key to making the dough easier to handle and ensuring the cookies hold their shape while baking. When chilled, generously flour your work surface and roll the dough to about 1/4 inch thick. Use your favorite cookie cutters—round ones for classic cookies and scalloped or small cutters for decorative wreaths. Don’t forget to re-roll scraps; I like to make sure nothing goes to waste.
Step 4: Bake Until Just Golden
Arrange the cookies at least 1 inch apart on a parchment-lined baking sheet. Chill them another 15 to 30 minutes if you have time—this helps prevent spreading. Preheat your oven to 350°F and bake for 8 to 10 minutes. Keep an eye on the edges—they should be set and just turning golden brown. Remove and cool on the sheets briefly before transferring to a wire rack; this keeps their shape crisp and tidy.
Step 5: Prepare and Apply the Icing
In a shallow bowl, whisk powdered sugar, vanilla extract, and milk until smooth and lump-free. When your cookies are completely cool, dip them upside down into the icing for a lovely glossy finish. Be gentle lifting them out to avoid breaking—dipping takes a little practice but the shiny result is so worth it!
Step 6: Add Festive Decorations
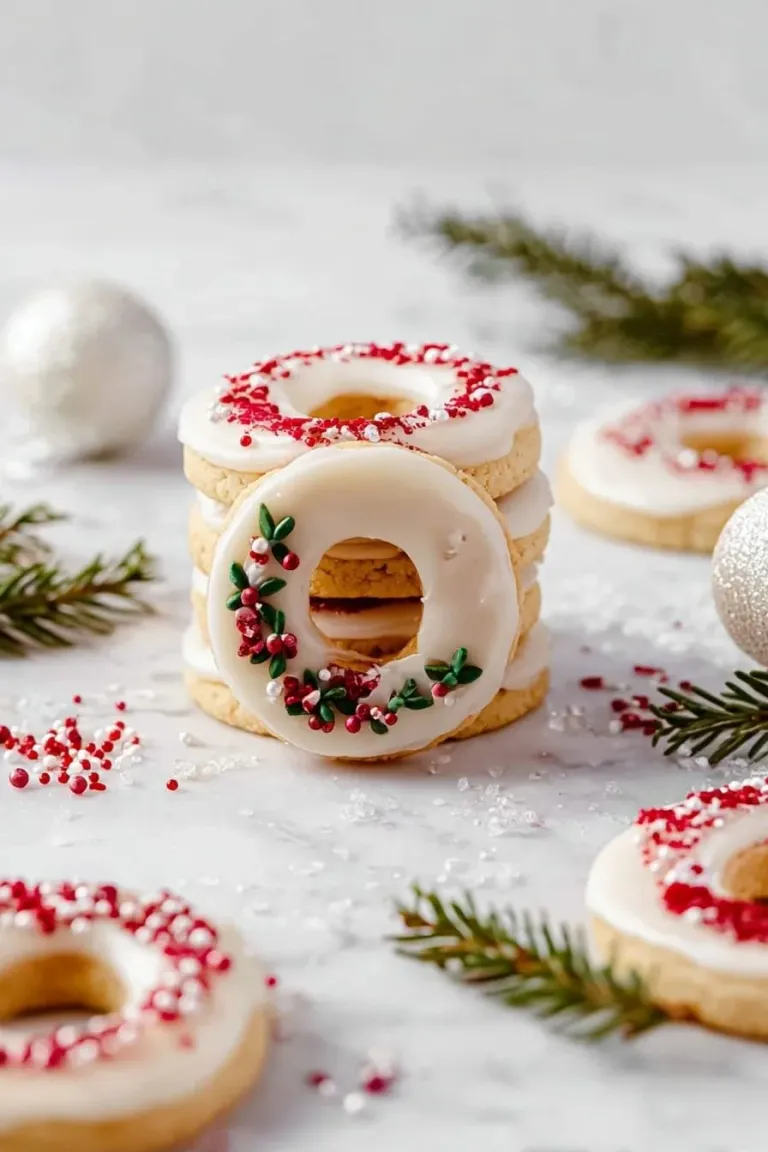
For wreath cookies, press small rosemary sprigs onto the wet icing along with red sprinkles to mimic holly berries—this combo smells amazing and looks stunning. For Santa hat cookies, melt white chocolate and tint part of it with oil-based red food coloring. Use piping bags to swirl the red “hat” shape on the cookies, then add white chocolate details and a sprinkle of sanding sugar for sparkle. I once switched the red tint to green to make cute Christmas trees with sparkly stars—so much fun to personalize!
Pro Tips for Making Decorative Shortbread Cookies with Icing Recipe
- Use Room Temperature Butter: It creams better, creating a tender dough that’s easy to work with.
- Chill Dough Thoroughly: Cold dough is less sticky and keeps the cookies from spreading too much in the oven.
- Oil-Based Food Coloring Only: I learned the hard way—water-based colors seize the white chocolate, so stick to oil-based to keep things smooth.
- Don’t Overbake: Watch closely—the edges just turning golden means they’ll be perfectly tender, not dry.
How to Serve Decorative Shortbread Cookies with Icing Recipe
 Save
Garnishes
I typically stick with fresh rosemary and bright red sprinkles—it adds a beautiful, natural touch and the herbal scent is incredible. Sanding sugar adds that festive sparkle, which my family always notices and loves. For extra flair, you could add edible glitter or tiny candy pearls.
Side Dishes
These cookies pair wonderfully with a hot cup of spiced tea or a classic mug of hot chocolate—perfect for chilly afternoons. I’ve also served them alongside a cheese platter with mild cheeses and fresh fruit for a sophisticated dessert spread.
Creative Ways to Present
For holiday parties, I arrange these shortbread cookies on a large wooden board with fresh greenery, pinecones, and cinnamon sticks for a rustic vibe. Wrapping them in cellophane tied with twine or ribbon makes for darling gifts. Another idea is stacking them in colorful tins layered with parchment paper—you can’t go wrong with that classic look.
Make Ahead and Storage
Storing Leftovers
I store leftover cookies in an airtight container at room temperature. They stay fresh for about 5 days, which is perfect because they rarely last that long! When layering, I place parchment paper between layers to keep icing decorations intact.
Freezing
For longer storage, freezing is a game changer. I freeze baked cookies without icing in a single layer on a baking sheet, then transfer them to a sealed bag. They keep up to 3 months frozen and thaw completely at room temp before decorating. You can also roll and freeze the dough discs to bake fresh later—super convenient!
Reheating
If you want to refresh cookies that have been stored, I pop them in a warm (not hot) oven at 300°F for about 5 minutes. This brings back that just-baked aroma and warmth without melting the icing or decorations.
Final Thoughts
I absolutely love how this Decorative Shortbread Cookies with Icing Recipe brings warmth and joy every time I make it. It’s more than just a cookie—it’s a chance to slow down, be creative, and share a little sweetness with the people you care about. Once you try it, I bet you’ll keep coming back to bake these beauties for every season and celebration.