
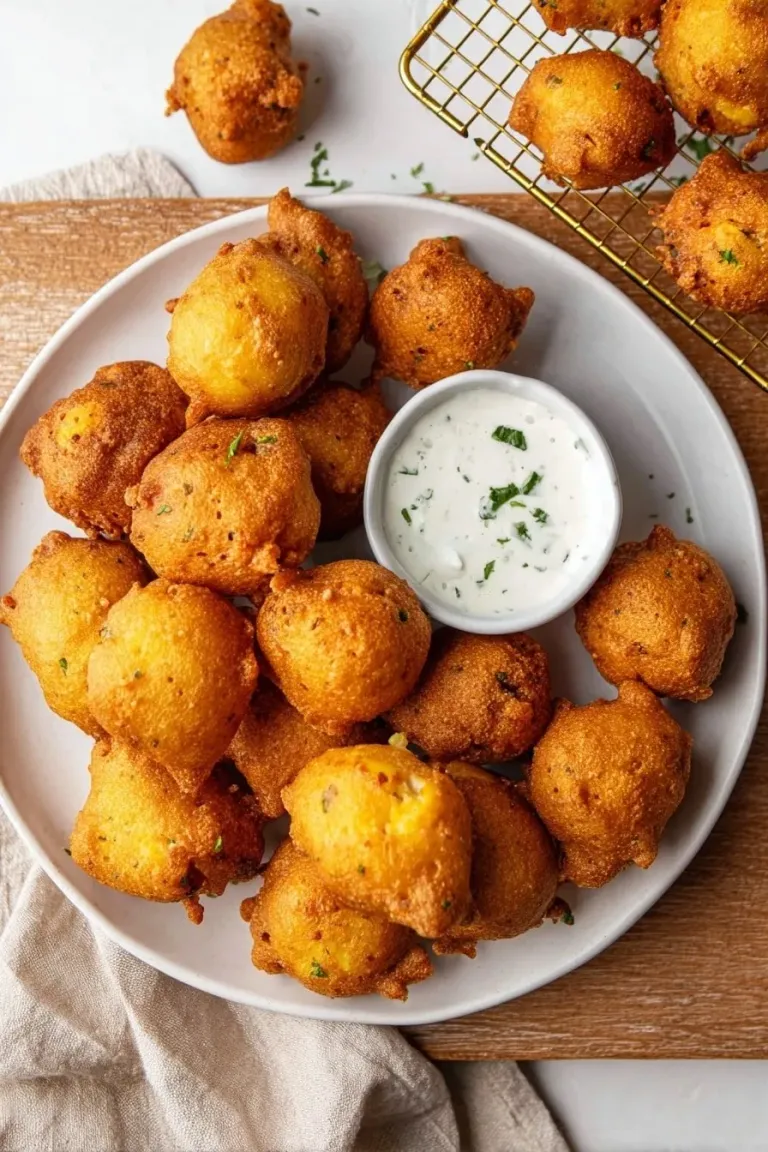
There’s something truly comforting about biting into these golden nuggets of crisp, fluffy goodness—that’s why I’m excited to share this Easy Southern Hush Puppies Recipe with you. These little fried treats bring a touch of Southern charm to your kitchen without any fuss.
Why You’ll Love This Recipe
- Simple Ingredients: You probably already have everything in your pantry for this easy hush puppies recipe.
- Quick to Make: You’re looking at under 20 minutes, from mixing the batter to golden-frying perfection.
- Perfect Texture: Crispy on the outside and airy on the inside every single time.
- Versatile Snack or Side: Goes beautifully with seafood, barbecue, or just about any Southern-inspired meal.
Ingredients You’ll Need
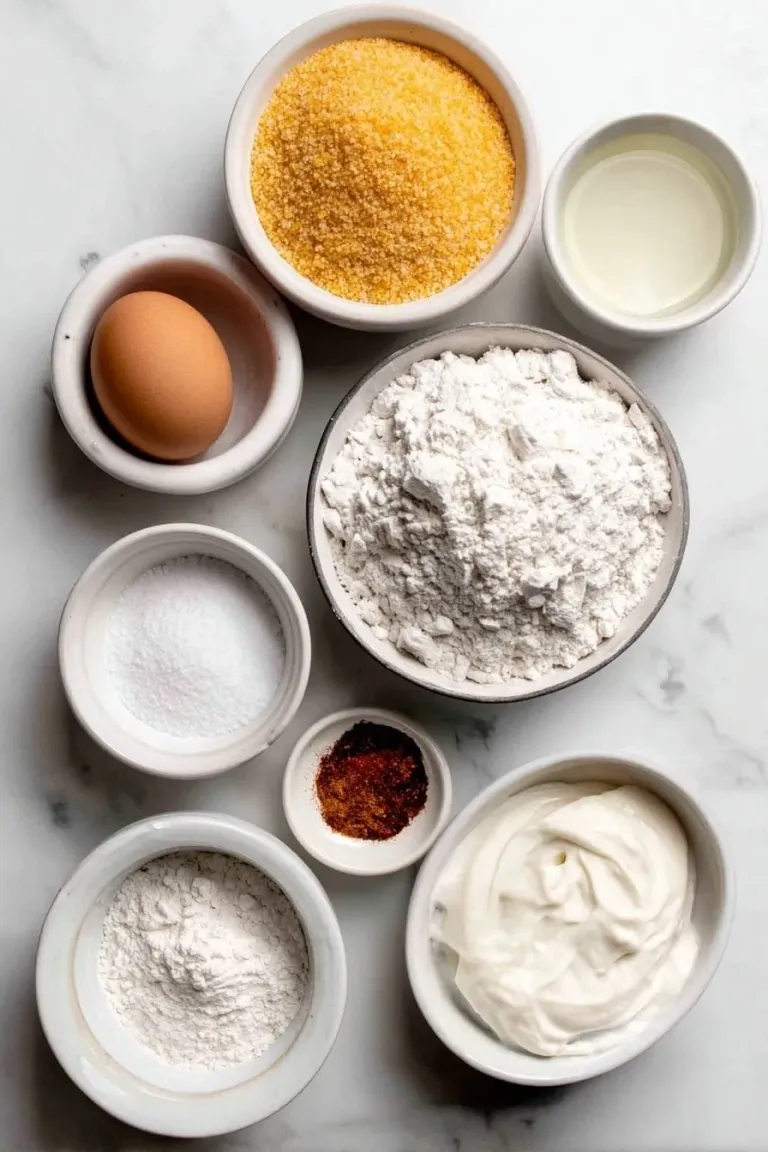
These ingredients come together so well, balancing sweetness, spice, and that signature cornmeal crunch. I always recommend using fresh buttermilk for the best tang and fluffiness—trust me, it makes a difference.
 Save
- Cornmeal: Use medium grind for a perfect texture—not too gritty, not too fine.
- All-purpose flour: Provides structure and lightness to the batter.
- Granulated sugar: Adds a subtle sweetness that balances the spice and cornmeal.
- Baking powder: Helps the hush puppies rise and stay fluffy inside.
- Salt: Enhances all the other flavors.
- Cayenne pepper: Just a touch for a gentle kick—feel free to adjust to taste.
- Egg: Binds liquids and dry ingredients together smoothly.
- Buttermilk: Adds moisture and a lovely tang that pairs perfectly with cornmeal.
- Onion (grated): This is my secret to adding extra moisture and a gentle onion flavor without chunky bits.
- Peanut or vegetable oil: For frying—choose ones with a high smoke point to get them crispy without burning.
Variations
I love playing around with hush puppies depending on the season or my mood. Don’t hesitate to make this Easy Southern Hush Puppies Recipe your own by tweaking flavors or adding extras.
- Cheesy Hush Puppies: Mixing in a bit of shredded sharp cheddar amps up the savory factor, and my family goes crazy for them.
- Herb Infusion: Adding chopped fresh parsley or chives gives a fresh burst that’s perfect for spring or summer dinners.
- Spicy Kick: I sometimes increase the cayenne or toss in diced jalapeños for those who enjoy a little extra heat.
- Gluten-Free Version: I swapped all-purpose flour for a gluten-free blend once, and it still worked well—just keep an eye on texture.
How to Make Easy Southern Hush Puppies Recipe
 Save
Step 1: Mix the Dry Ingredients
Begin by whisking together your cornmeal, flour, sugar, baking powder, salt, and cayenne pepper in a large bowl. I like to make sure everything is evenly distributed before adding wet ingredients—that way your hush puppies get consistent flavor and rise evenly.
Step 2: Combine Wet Ingredients and Onion
In a separate bowl, lightly beat your egg, then stir in the buttermilk. Grate the small onion finely, including the juices, and add it all to the wet mixture—this adds moisture and that subtle onion flavor that really sets these apart.
Step 3: Make the Batter
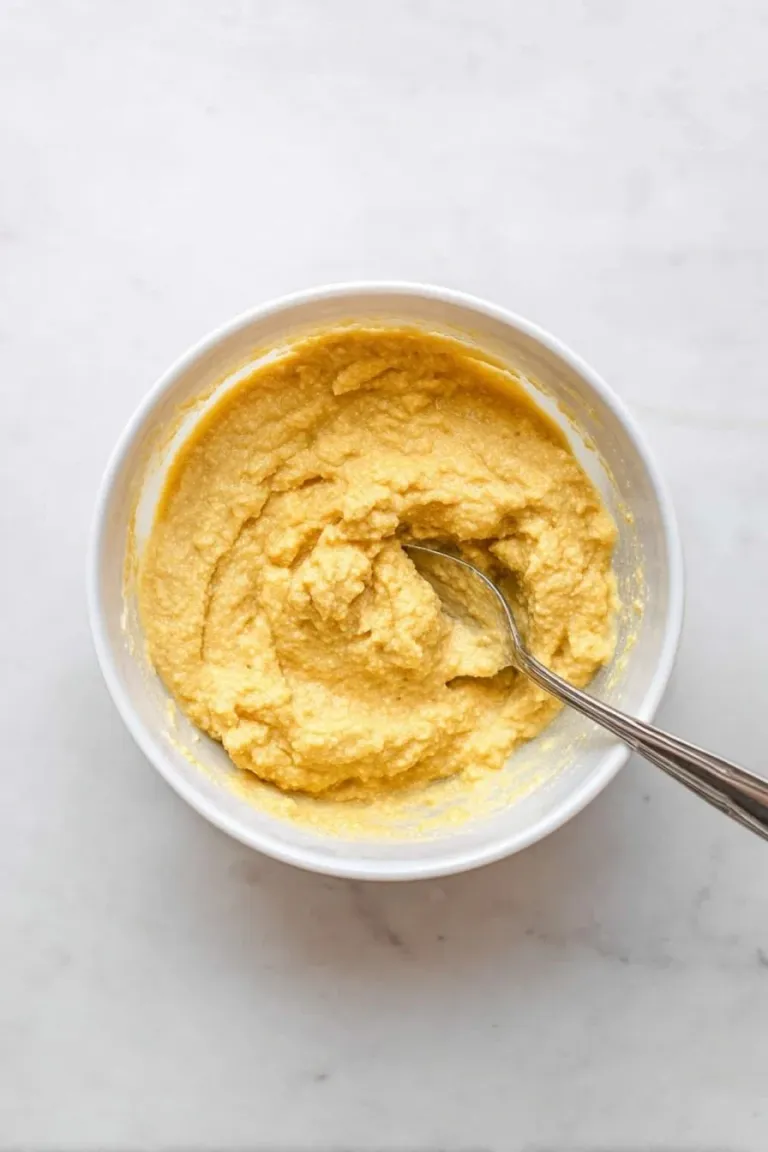
Pour the wet ingredients into the dry and stir gently until combined. I find it helps not to overmix here; some lumps are okay. You want a thick batter that holds together but still drops easily from a spoon.
Step 4: Heat the Oil and Fry
Heat about 2 inches of peanut or vegetable oil in a cast iron skillet or Dutch oven to roughly 375°F. Use a digital thermometer to keep an eye on the temperature—maintaining the heat between 350°F and 375°F is key. Too low, and your hush puppies soak oil; too high, and they burn before the middle cooks.
Use two spoons to drop tablespoon-sized batter lumps into the hot oil, pushing in one at a time. Don’t crowd the pan; fry in batches for a perfect golden crust. Fry for 2–3 minutes, turning halfway so all sides get crisp. Drain on a wire rack over paper towels to stay crispy.
Pro Tips for Making Easy Southern Hush Puppies Recipe
- Use a Digital Thermometer: It’s the single best way to keep your oil at the right temp and avoid greasy or burnt hush puppies.
- Don’t Overmix the Batter: I learned that stirring just until combined keeps the hush puppies tender and light inside.
- Grate Onion Finely: Including the onion juices made such a difference in moisture and flavor for me—no surprises when frying!
- Fry in Small Batches: Keeps the oil temperature stable and helps you turn them evenly for the perfect crust.
How to Serve Easy Southern Hush Puppies Recipe
 Save
Garnishes
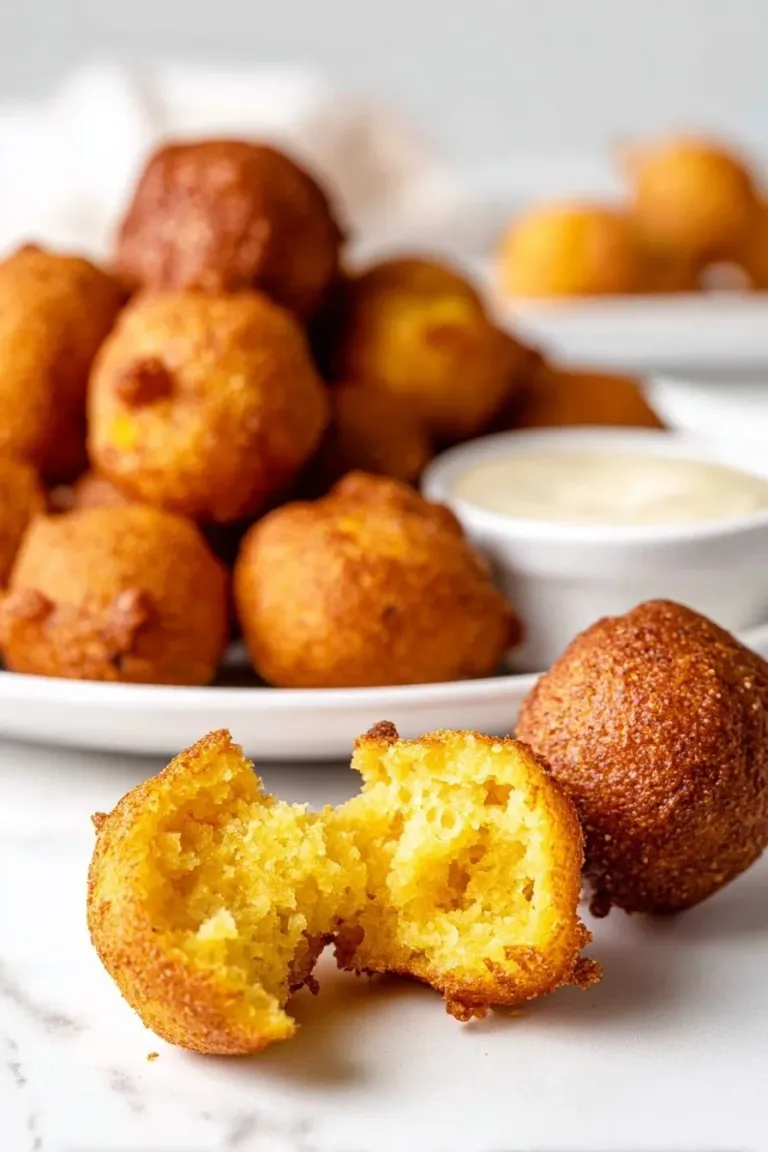
I like a sprinkle of flaky sea salt right after frying—it amps up the flavor and contrast. For a little flair, chopped green onions or a dab of honey butter on the side are fabulous. They make the hush puppies pop and add that homemade love.
Side Dishes
These hush puppies shine paired with crispy fried catfish or barbecue ribs. I also love serving them alongside coleslaw or a tangy cucumber salad to balance the richness. Honestly, they’re a star side for any fried or grilled meal.
Creative Ways to Present
For casual gatherings, I pile hush puppies in a rustic basket lined with a checked napkin—always a crowd-pleaser! When guests come over, I’ve even served them with small ramekins of remoulade, spicy aioli, and honey for dipping—turns a humble side into an interactive delight.
Make Ahead and Storage
Storing Leftovers
Leftover hush puppies store well in an airtight container at room temperature for up to 3-4 days or in the fridge for about a week. I usually cool them completely before sealing to keep them from getting soggy.
Freezing
I freeze cooked hush puppies on a baking sheet in a single layer so they don’t stick together—once frozen solid (1-2 hours), I transfer them to a resealable container. They keep great for up to 3 months and come back almost as crisp as fresh.
Reheating
For the best crisp, I reheat hush puppies in my air fryer for 3-4 minutes or in a 350°F oven for 8-10 minutes. Microwaving works if you’re in a hurry, but you might lose some of that crunch—still tasty, though!
Final Thoughts
This Easy Southern Hush Puppies Recipe has become a staple in my kitchen for good reason—they’re straightforward, quick, and just downright addictive. I hope you enjoy making and sharing these little bites as much as I do. Once you try them, they’ll become your go-to side or snack for nearly any occasion.