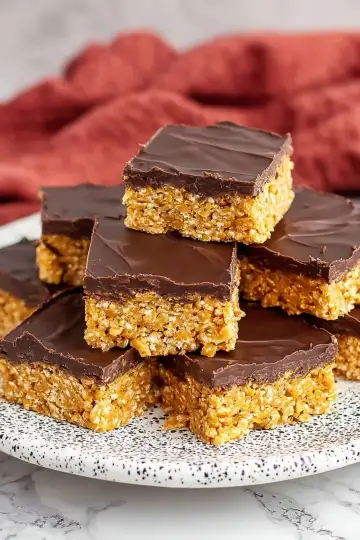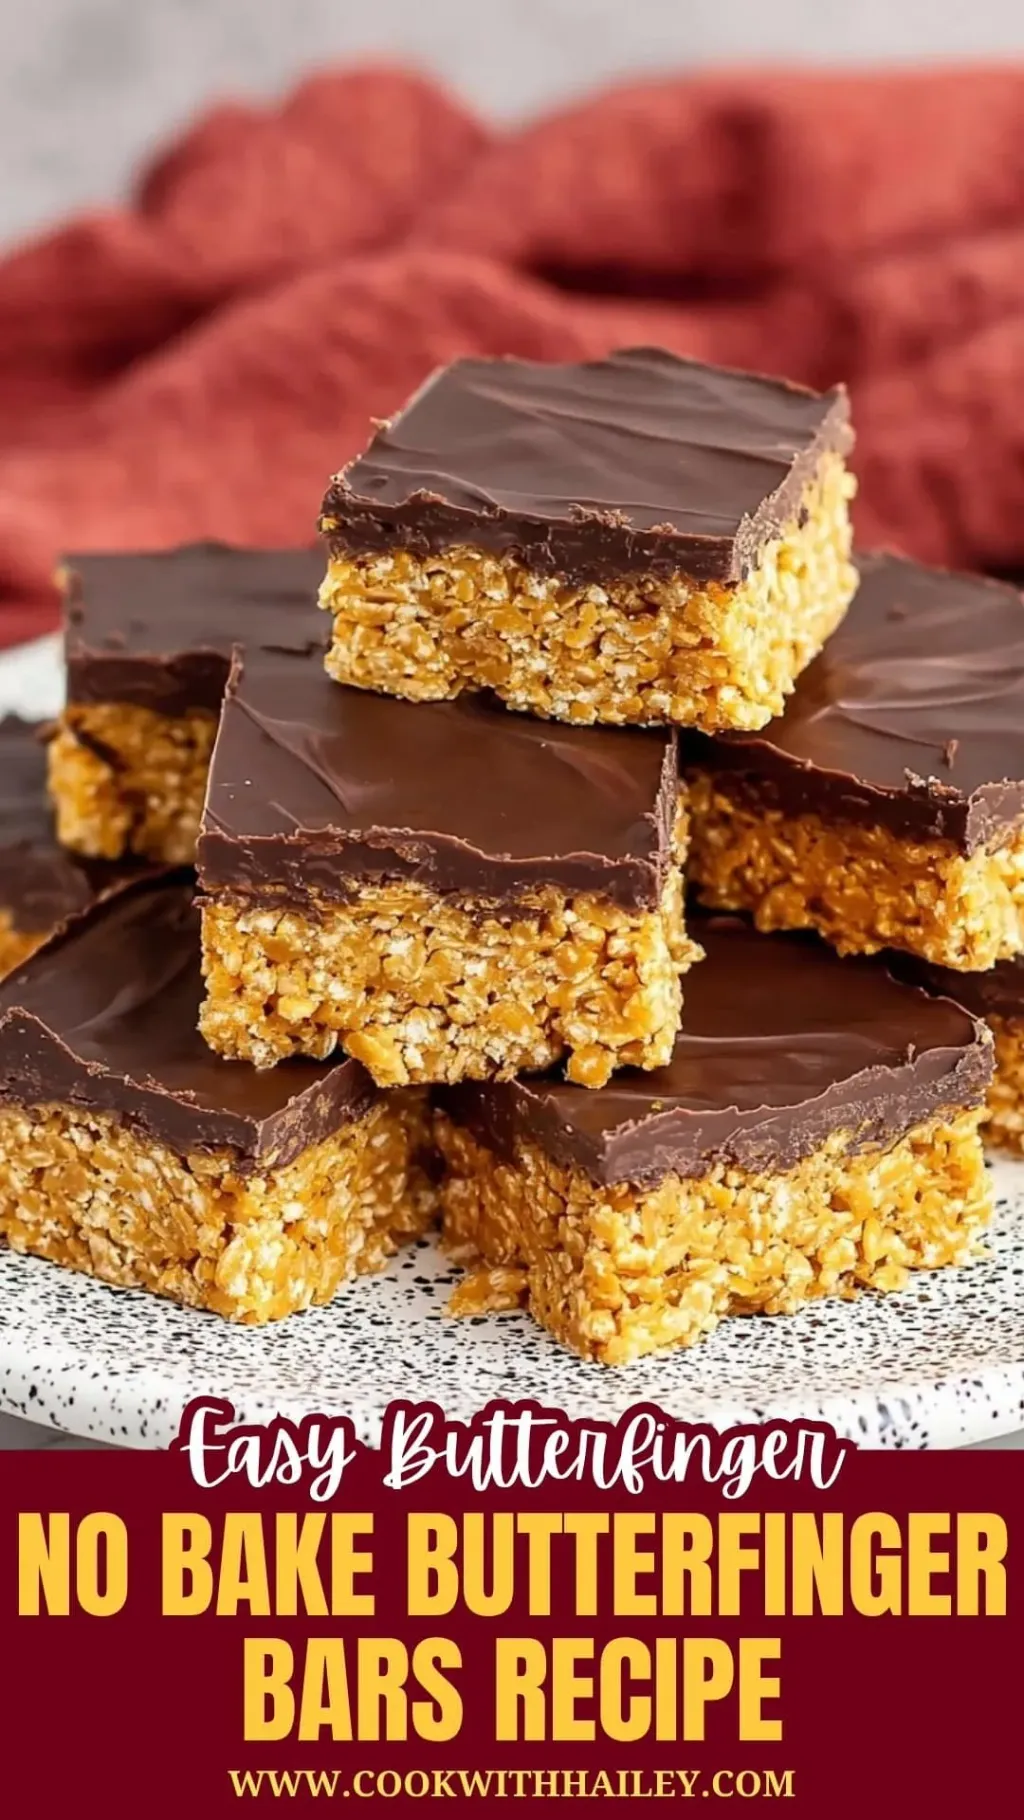

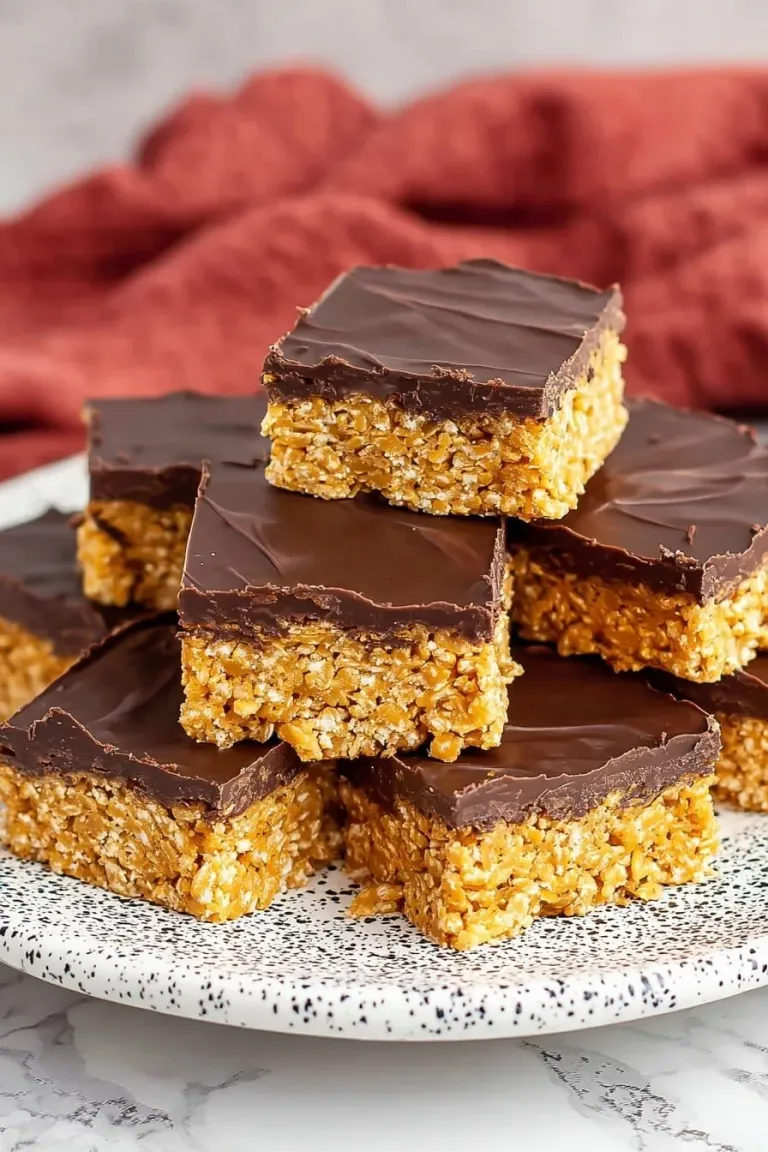
There’s something incredibly satisfying about a sweet treat that comes together without firing up the oven. This No Bake Butterfinger Bars Recipe is a perfect example—crispy cornflakes tangled with peanut butter and sugar, all topped with a luscious chocolate layer that practically melts in your mouth. It’s simple, nostalgic, and ridiculously addictive.
Why You’ll Love This Recipe
- No Oven Needed: Perfect for hot days or quick fixes without heating up the whole kitchen.
- Crunchy & Creamy Texture: The mix of cornflakes, peanut butter, and chocolate makes for a delightful bite every time.
- Kid-Friendly & Fun: Easy enough to make with kids and sure to become a favorite lunchbox treat or party snack.
- Customizable: You can tweak it with add-ins like nuts or swap chocolate types to suit your mood.
Ingredients You’ll Need
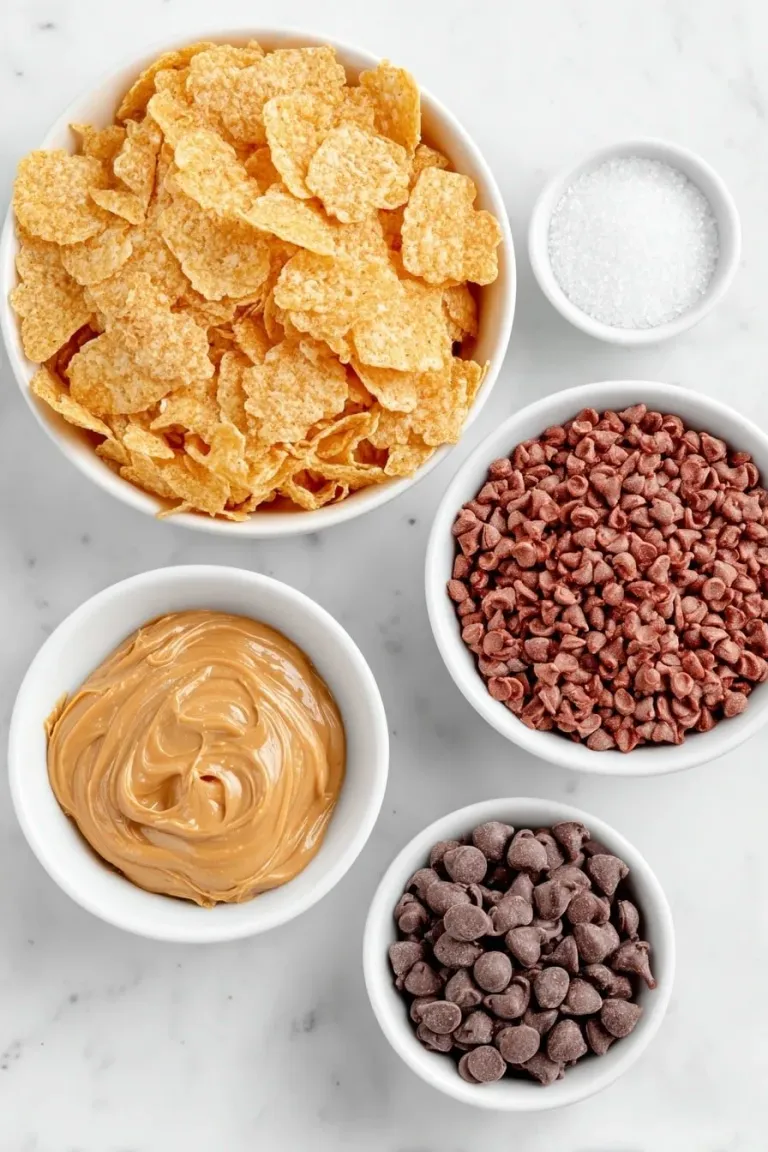
These ingredients create the perfect balance of sweet, salty, and crunchy. I’ve found that using high-quality peanut butter and fresh cornflakes really makes the bars stand out. Let’s break down what each ingredient brings to the party.
 Save
- Light Corn Syrup: Acts as a sticky binder that keeps everything together while adding a smooth sweetness.
- Granulated Sugar: Balances out the peanut butter’s richness and helps achieve that lovely chewy texture.
- Creamy Peanut Butter: The star of the show—go for creamy to spread the flavor evenly and keep those bars soft.
- Cornflakes Cereal: Adds the essential crunch and a little nostalgia from classic Butterfinger candy bars.
- Semi-Sweet Chocolate Chips: For that glossy, melt-in-your-mouth chocolate topping.
Variations
I often like to switch things up depending on what I have in the pantry or the occasion. Feel free to make this No Bake Butterfinger Bars Recipe truly your own by trying out these easy tweaks that can add new flavors and textures.
- Crunch Boost: I sometimes toss in chopped roasted peanuts or almonds for extra texture—it’s a game changer for nut lovers.
- Darker Chocolate: Swapping semi-sweet chocolate for dark chocolate adds a nice richness that balances the sweetness.
- Allergy-Friendly: Use sun butter instead of peanut butter if you need a nut-free option; it still tastes great!
- Holiday Twist: A sprinkle of sea salt or a dash of cinnamon on the chocolate topping makes these bars festive and fancy.
How to Make No Bake Butterfinger Bars Recipe
 Save
Step 1: Prep Your Pan Like a Pro
Start by lining a 9×13-inch baking dish with parchment paper, making sure to leave some overhang on the sides. This little trick saved me so many times—it makes lifting the bars out a breeze without them falling apart.
Step 2: Sweeten and Melt
In a large saucepan, combine the light corn syrup and granulated sugar. Cook over medium heat, stirring constantly until the sugar fully dissolves and the mixture begins to bubble gently. Don’t rush this part—this is where the bars get their chewy texture, so watch the heat closely to avoid burning.
Step 3: Peanut Butter Magic
Remove the saucepan from heat and quickly stir in the creamy peanut butter until completely smooth. I like to use a sturdy wooden spoon here—it helps blend everything evenly, and the aroma of melting peanut butter is pure comfort.
Step 4: Mix in the Cornflakes
Pour 8 cups of cornflakes into a large bowl, then gently fold in the peanut butter mixture. Be careful not to crush the flakes; a light hand keeps that signature crunch. This step reminds me of making homemade candy bars with my siblings—it’s messy but so much fun!
Step 5: Press and Chill
Transfer the mixture to your prepared pan and press it down firmly with a spatula or lightly greased hands to create an even layer. It’s important to apply gentle but firm pressure here so the bars set well and don’t crumble.
Step 6: The Chocolate Finish
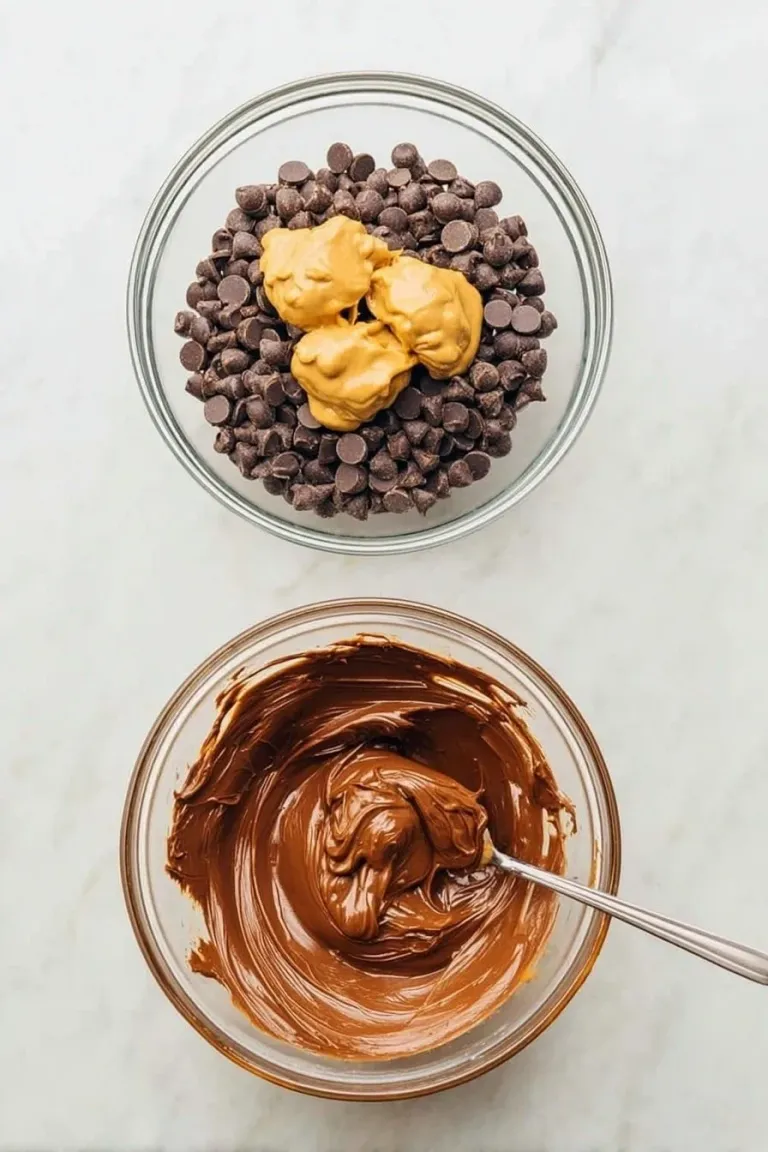
In a microwave-safe bowl, combine the semi-sweet chocolate chips and a bit of peanut butter, then heat in short 20-second bursts, stirring after each, until silky smooth. Spread this glossy chocolate topping evenly over the cornflake base—this is where the magic truly comes alive!
Step 7: Chill and Serve
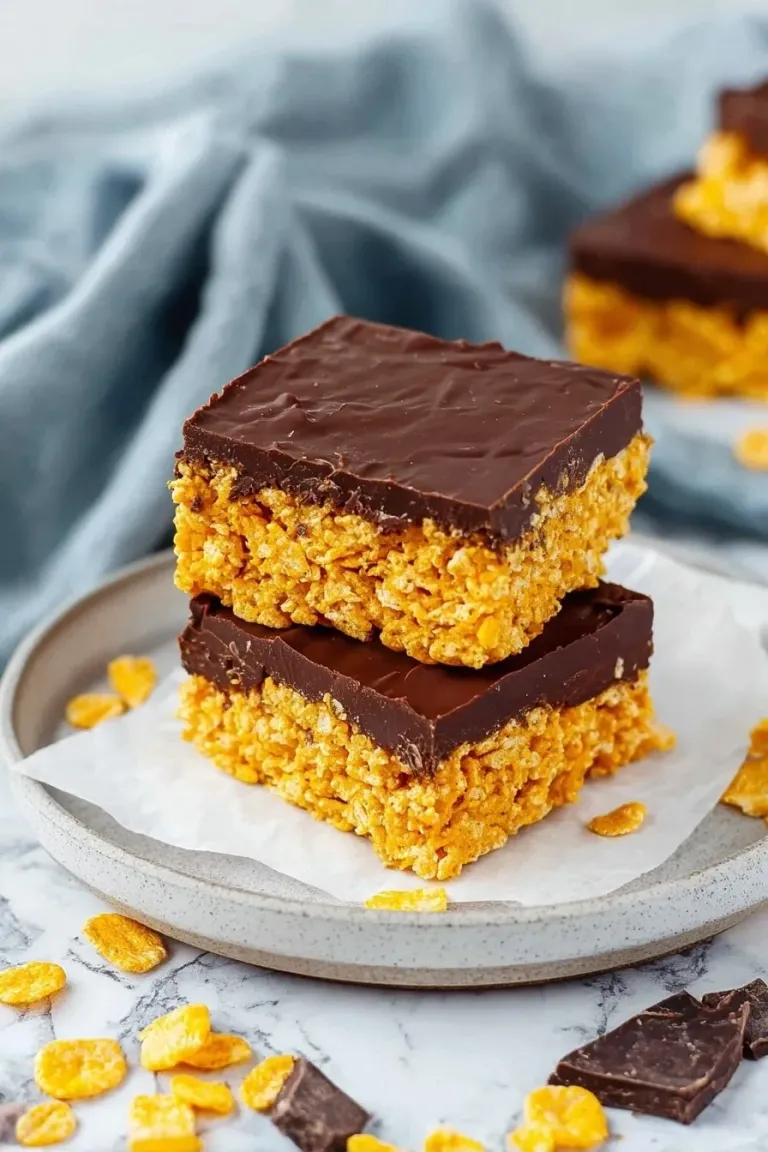
Pop the pan into the fridge for at least one hour until firm. When ready, use the parchment overhang to lift the bars out and slice them into squares. I love how cleanly they cut, no crumbs, just perfect squares of crispy delight.
Pro Tips for Making No Bake Butterfinger Bars Recipe
- Use Fresh Cornflakes: I noticed stale cereal can cause a soggy texture, so always choose the freshest box you can find.
- Don’t Skip the Parchment: Lifting the bars out without parchment can be tricky, so this one tip seriously saves cleanup time and frustration.
- Gentle Mixing: Fold gently when combining to keep those delicate cornflakes from crushing—you want crunch, not mush.
- Microwave in Short Bursts: Heating chocolate slowly prevents burning and gives you a gorgeous silky texture that spreads easily.
How to Serve No Bake Butterfinger Bars Recipe
 Save
Garnishes
I usually keep it simple, but a light dusting of flaky sea salt on top of the chocolate before chilling adds a lovely contrast. Sometimes, I sprinkle a few extra chopped peanuts or a drizzle of caramel to jazz them up when serving guests—trust me, it makes a huge impression.
Side Dishes
This recipe is a perfect sweet treat to enjoy alongside a tall glass of cold milk or your favorite cup of coffee. I’ve also served these during brunches next to fresh fruit—they balance out beautifully without being too heavy.
Creative Ways to Present
For special occasions, I like arranging the bars on tiered dessert stands with fresh berries or edible flowers. They’ve also gone down a storm as individually wrapped gifts in cellophane tied with pretty ribbons—so easy and thoughtful!
Make Ahead and Storage
Storing Leftovers
I keep any leftovers in an airtight container at room temperature for up to 3 days. Because they’re sturdy but soft, they stay fresh without drying out, though you might want to eat them fast because they disappear quickly at my house!
Freezing
These bars freeze wonderfully. I wrap individual pieces tightly in plastic wrap, then place them in a freezer bag. When I take them out, I let them thaw at room temperature; the texture remains just as crispy and delicious.
Reheating
I rarely reheat these bars because they’re best cold or at room temperature, but if you want melty chocolate, a quick 5-second zap in the microwave does the trick—just be careful not to overdo it!
Final Thoughts
Looking back, this No Bake Butterfinger Bars Recipe became an instant favorite in my family because it’s quick, flavorful, and hits that perfect sweet spot between crunchy and creamy. I love sharing it because it’s such an easy way to brighten up any day without fussing over the oven. I can’t wait for you to try it and see how simple joy this treat brings!