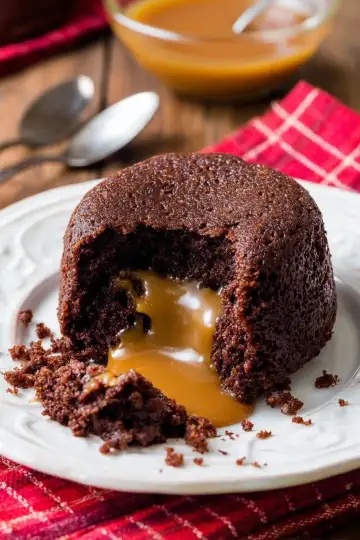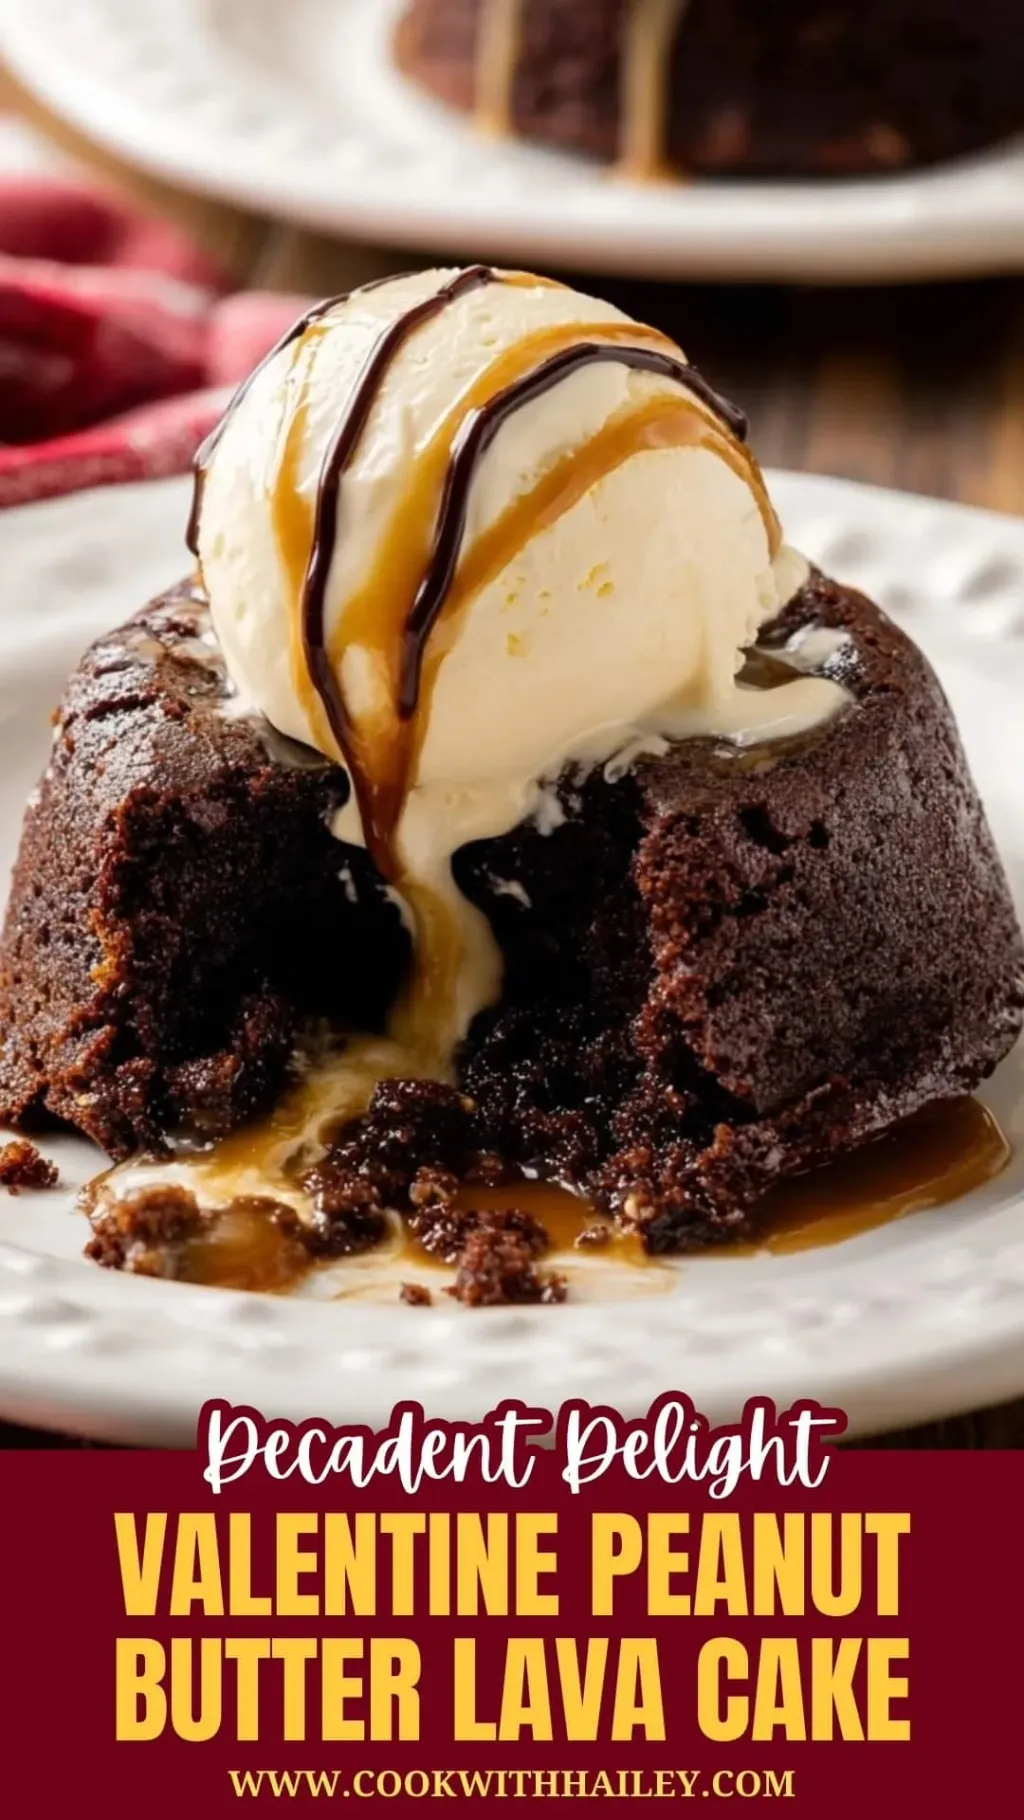

There’s something downright magical about a molten, gooey center oozing out of a rich chocolate cake, especially when it’s combined with the creamy indulgence of peanut butter. This Peanut Butter Chocolate Lava Cakes Recipe is one of those desserts that feels fancy but comes together surprisingly easily, making it perfect for impressing guests or treating yourself to a little luxury at home.
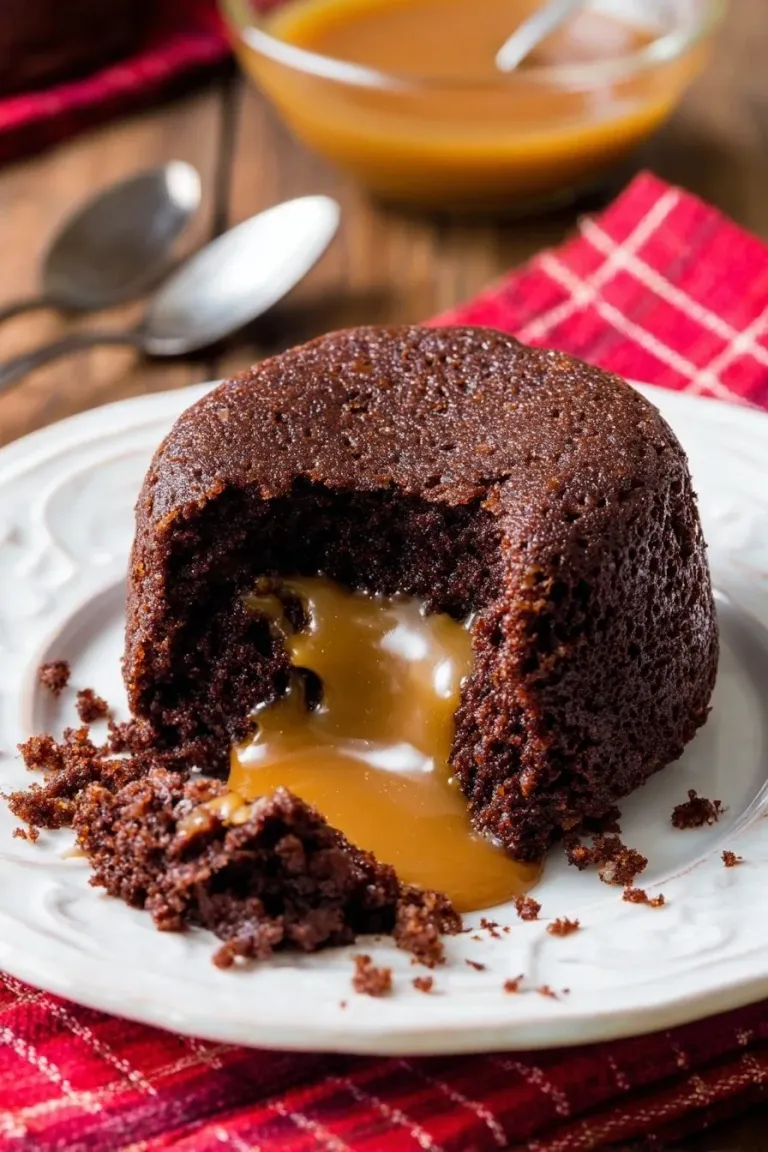
Why You’ll Love This Recipe
- Decadent Fusion: Combines luscious chocolate with creamy peanut butter for an irresistible molten center.
- Simple yet Impressive: Easy steps that yield a dessert that looks and tastes gourmet—no pastry chef skills required.
- Customizable: You can adjust the peanut butter swirl and toppings to your liking for a personalized touch.
- Perfect for Sharing: Makes four individual desserts that are great for a dinner party or date night.
Ingredients You’ll Need
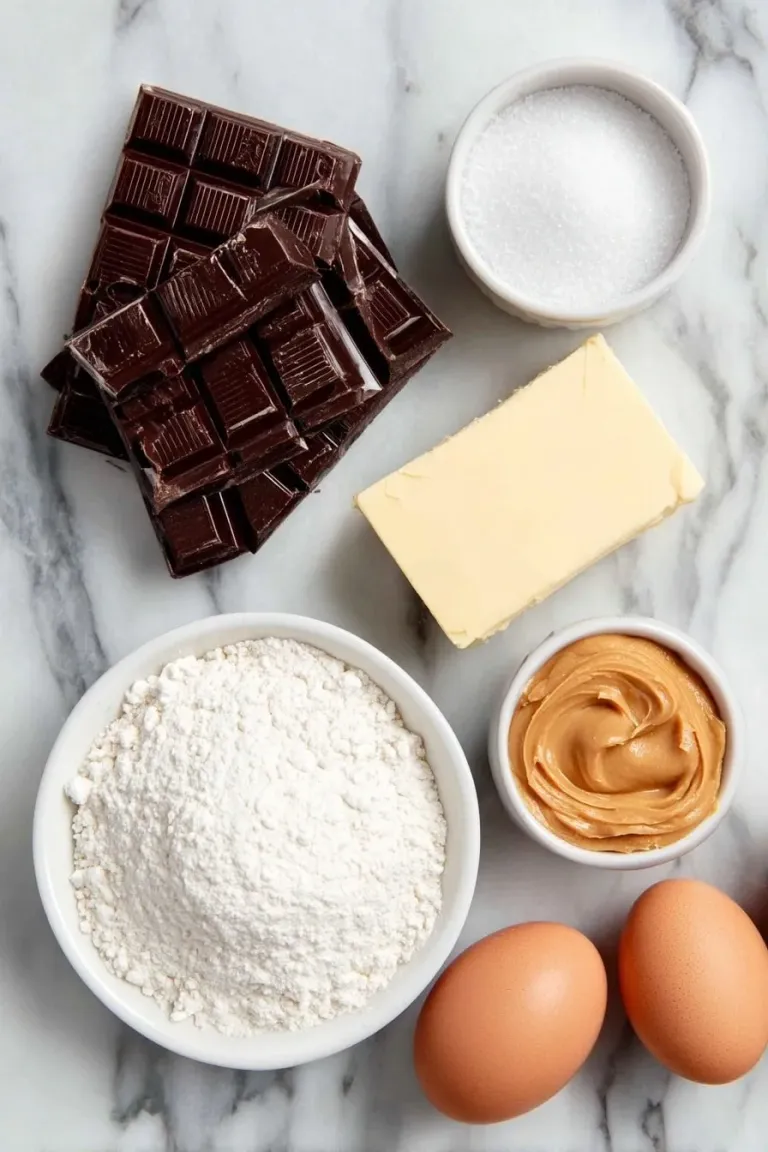
Each ingredient in this Peanut Butter Chocolate Lava Cakes Recipe plays a key role in creating that silky texture and rich flavor combo you’ll adore. I always recommend using good-quality chocolate and sticking with creamy peanut butter for the best lava flow.
 Save
- Semi-sweet Chocolate: High-quality chocolate melts smoothly and balances the peanut butter’s richness perfectly.
- Unsalted Butter: Adds a silky mouthfeel and keeps the sweetness controlled so nothing gets too overpowering.
- All-purpose Flour: Just enough to hold the cake together without sacrificing the gooey center.
- Confectioners’ Sugar: Smooth sweetness that dissolves beautifully into the batter.
- Salt: A pinch enhances all the flavors and cuts through the richness.
- Large Eggs and Egg Yolks: These give structure but also a tender texture and rich color.
- Creamy Peanut Butter: Use commercial creamy peanut butter (like Jif or Skippy) for that perfect molten core.
- Optional Toppings: Ice cream, melted peanut butter, or chocolate syrup add an extra layer of indulgence on serving.
Variations
I love how versatile this recipe is! While I usually stick with the traditional peanut butter swirl, I’ve played around with a few tweaks—so feel free to make it truly your own.
- Plain Chocolate Lava Cakes: Just skip the peanut butter swirl for a classic lava cake; it’s still divine without it.
- Peanut Butter Cup Surprise: For an extra treat, I sometimes nestle a mini peanut butter cup in the center before baking—family goes wild for this twist.
- Nut-Free Option: Swap the peanut butter with a smooth caramel or fruit jam if you need to avoid nuts—same luscious lava effect, just different flavor.
- Dairy-Free Version: Use vegan butter and dairy-free chocolate for a satisfying alternative that’s just as gooey.
How to Make Peanut Butter Chocolate Lava Cakes Recipe
 Save
Step 1: Prep Your Ramekins and Oven
Start by spraying four 6-ounce ramekins with nonstick cooking spray, then dust them lightly with cocoa powder. This little step is a game changer because it makes flipping the cakes out so much easier—trust me, nothing ruins the moment like a stuck cake! Preheat your oven to 425°F (218°C) so it’s ready to go when your batter is mixed.
Step 2: Melt the Chocolate and Butter
Coarsely chop the chocolate; it melts more evenly this way. Place the butter in a medium heat-proof bowl and top with the chopped chocolate. Microwave in 10-second bursts, stirring each time until everything is melted into one shiny, smooth chocolate pool. I learned that impatience here leads to burnt chocolate, so take your time and stir carefully.
Step 3: Whisk Dry and Wet Ingredients Separately
In a small bowl, whisk together the flour, confectioners’ sugar, and salt—this helps break up any lumps and spreads the salt evenly. In another bowl, beat the eggs and egg yolks until just combined; no need to make them frothy. This separation helps you keep things smooth when you add them to the chocolate.
Step 4: Combine Everything Gently
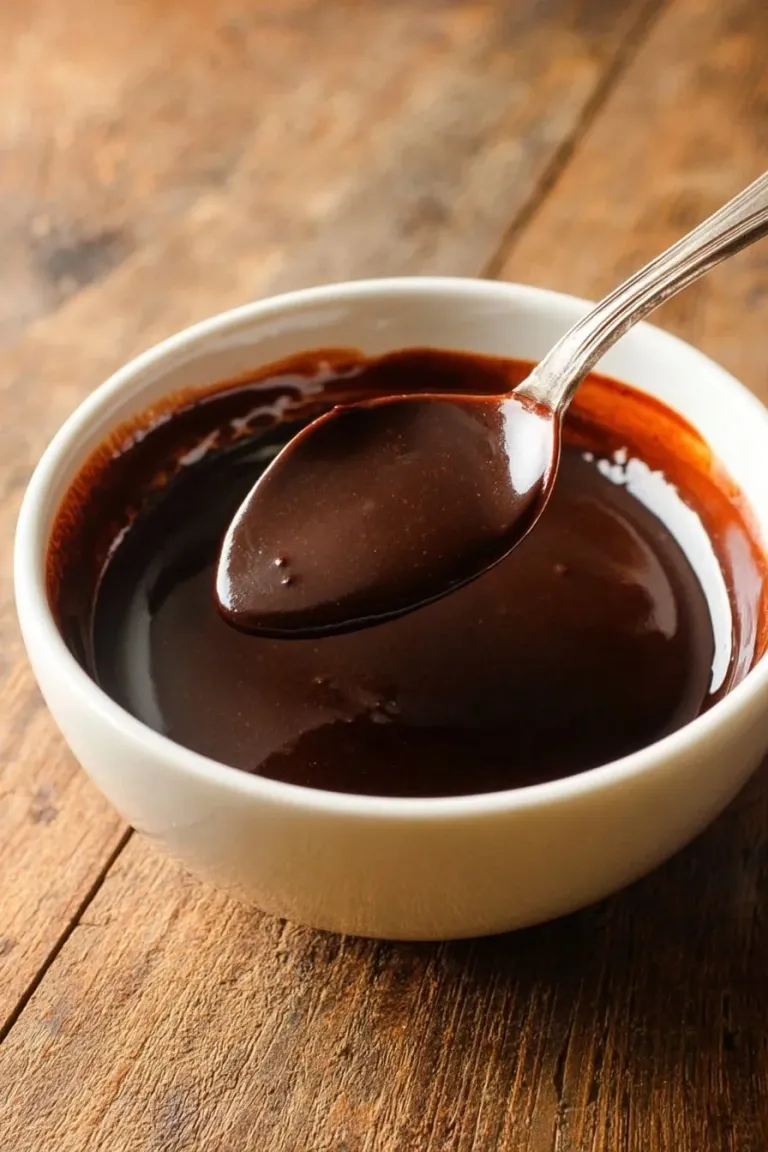
Pour the flour mixture and the eggs into the melted chocolate bowl. Stir gently with a silicone spatula or wooden spoon until the batter is smooth but still thick. If you encounter lumps, use a whisk carefully to smooth them out—you want a creamy batter ready to bake.
Step 5: Fill Ramekins and Add Peanut Butter
Spoon the chocolate batter evenly into your prepared ramekins. Then, drop about 2 teaspoons of creamy peanut butter on top of each and gently press it down into the batter. The peanut butter will peek out here and there—it’s going to melt into that perfect molten center!
Step 6: Bake and Serve
Place the ramekins on a baking sheet and bake for 12-13 minutes until the edges look set and firm while the top might stay slightly soft. Let them cool just for a minute—this is key so the lava doesn’t spill out too fast. Then, cover each ramekin with a plate and flip quickly (oven mitts recommended!). The cakes should slide out smoothly. Add a scoop of ice cream and drizzle with melted peanut butter or chocolate syrup if you like. Serve immediately and watch everyone’s faces light up!
Pro Tips for Making Peanut Butter Chocolate Lava Cakes Recipe
- Perfect Ramekin Prep: Dusting with cocoa powder, not flour, keeps the chocolate flavor pure and avoids white patches on the cake surface.
- Watch the Bake Time: I learned that even 30 seconds overbaked turns the center from molten to cakey, so set a timer and watch carefully.
- Use Room Temperature Eggs: This helps the batter mix smoothly and leads to a silkier texture.
- Peanut Butter Choice Matters: Avoid crunchy or natural peanut butter, which can ruin the flow and texture; creamy commercial brands work best.
How to Serve Peanut Butter Chocolate Lava Cakes Recipe
 Save
Garnishes
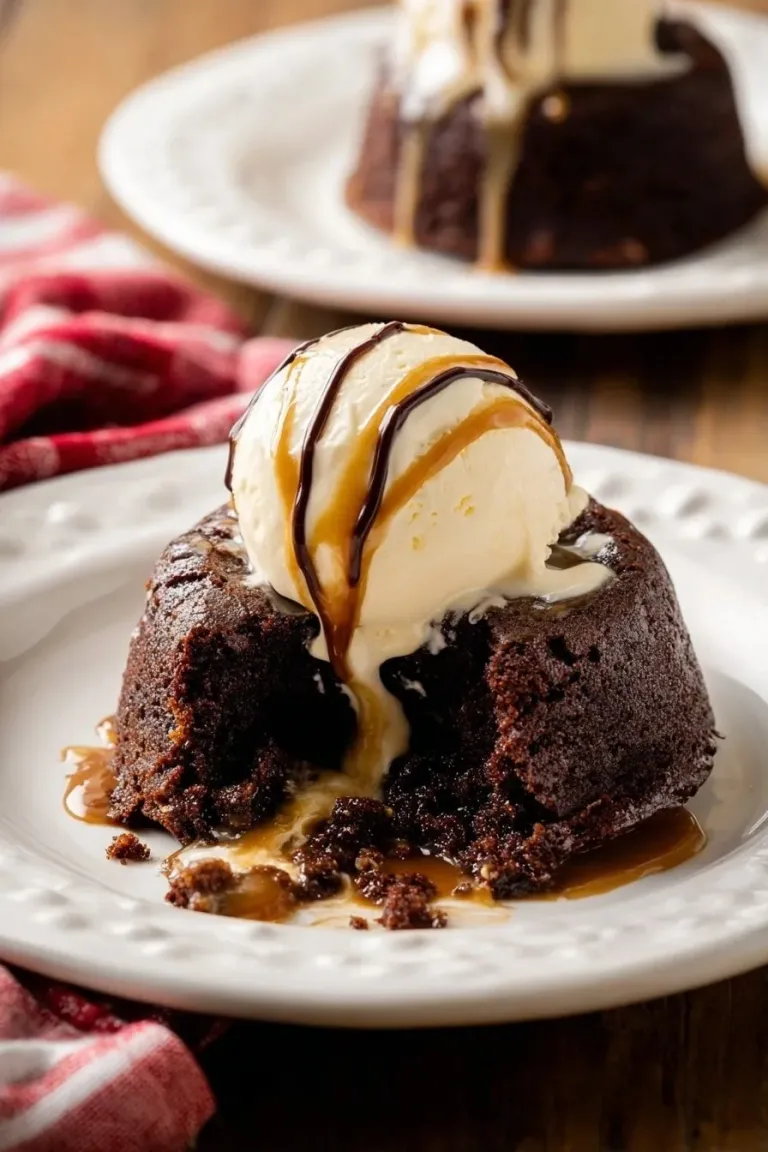
Personally, I can’t resist topping these lava cakes with a generous scoop of vanilla ice cream—the cold creaminess contrasts so beautifully with the warm, gooey cake. A drizzle of melted peanut butter or chocolate syrup adds a little extra wow factor that always gets compliments. Sometimes I sprinkle a few chopped peanuts on top for a subtle crunch.
Side Dishes
I like to keep sides simple since the dessert is rich: fresh berries or a small bowl of whipped cream work wonderfully to lighten each bite and add a fresh note.
Creative Ways to Present
For special occasions, I’ve arranged the ramekins on a dessert tray with edible gold dust or powdered sugar dusted over the top. Adding fresh mint leaves and serving with personalized dessert spoons turns these cakes into a restaurant-worthy treat that dazzles every time.
Make Ahead and Storage
Storing Leftovers
If you happen to have leftovers (it’s rare in my house!), cover the cakes tightly and store them in the fridge for up to 2 days. They don’t keep their lava texture perfectly when stored after baking, so I recommend making them fresh whenever possible.
Freezing
I like to freeze the batter in ramekins up to step 5—that way, I can pop them straight into the oven from frozen, adding a minute or two to the bake time. This is perfect for last-minute dessert emergencies!
Reheating
Reheating these lava cakes is tricky if you want to keep the molten center. I usually recommend enjoying them fresh, but if you must reheat, warm them gently in a low oven (around 300°F/150°C) for 5–7 minutes. Microwaving tends to cook them too fast and solidify the center.
Final Thoughts
I absolutely love how this Peanut Butter Chocolate Lava Cakes Recipe brings together two timeless flavors in a way that feels both indulgent and approachable. The first time I made it for friends, everyone was blown away by how easy it was—and how gourmet it tasted! I can’t wait for you to try it yourself and watch that molten center wow your family or guests just like it did mine. Once you get the hang of it, you might find yourself making these little beauties all the time for no reason at all except pure joy.