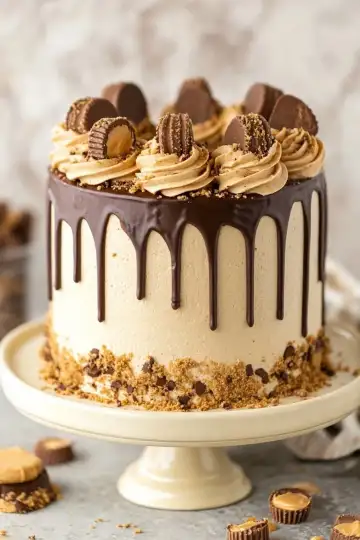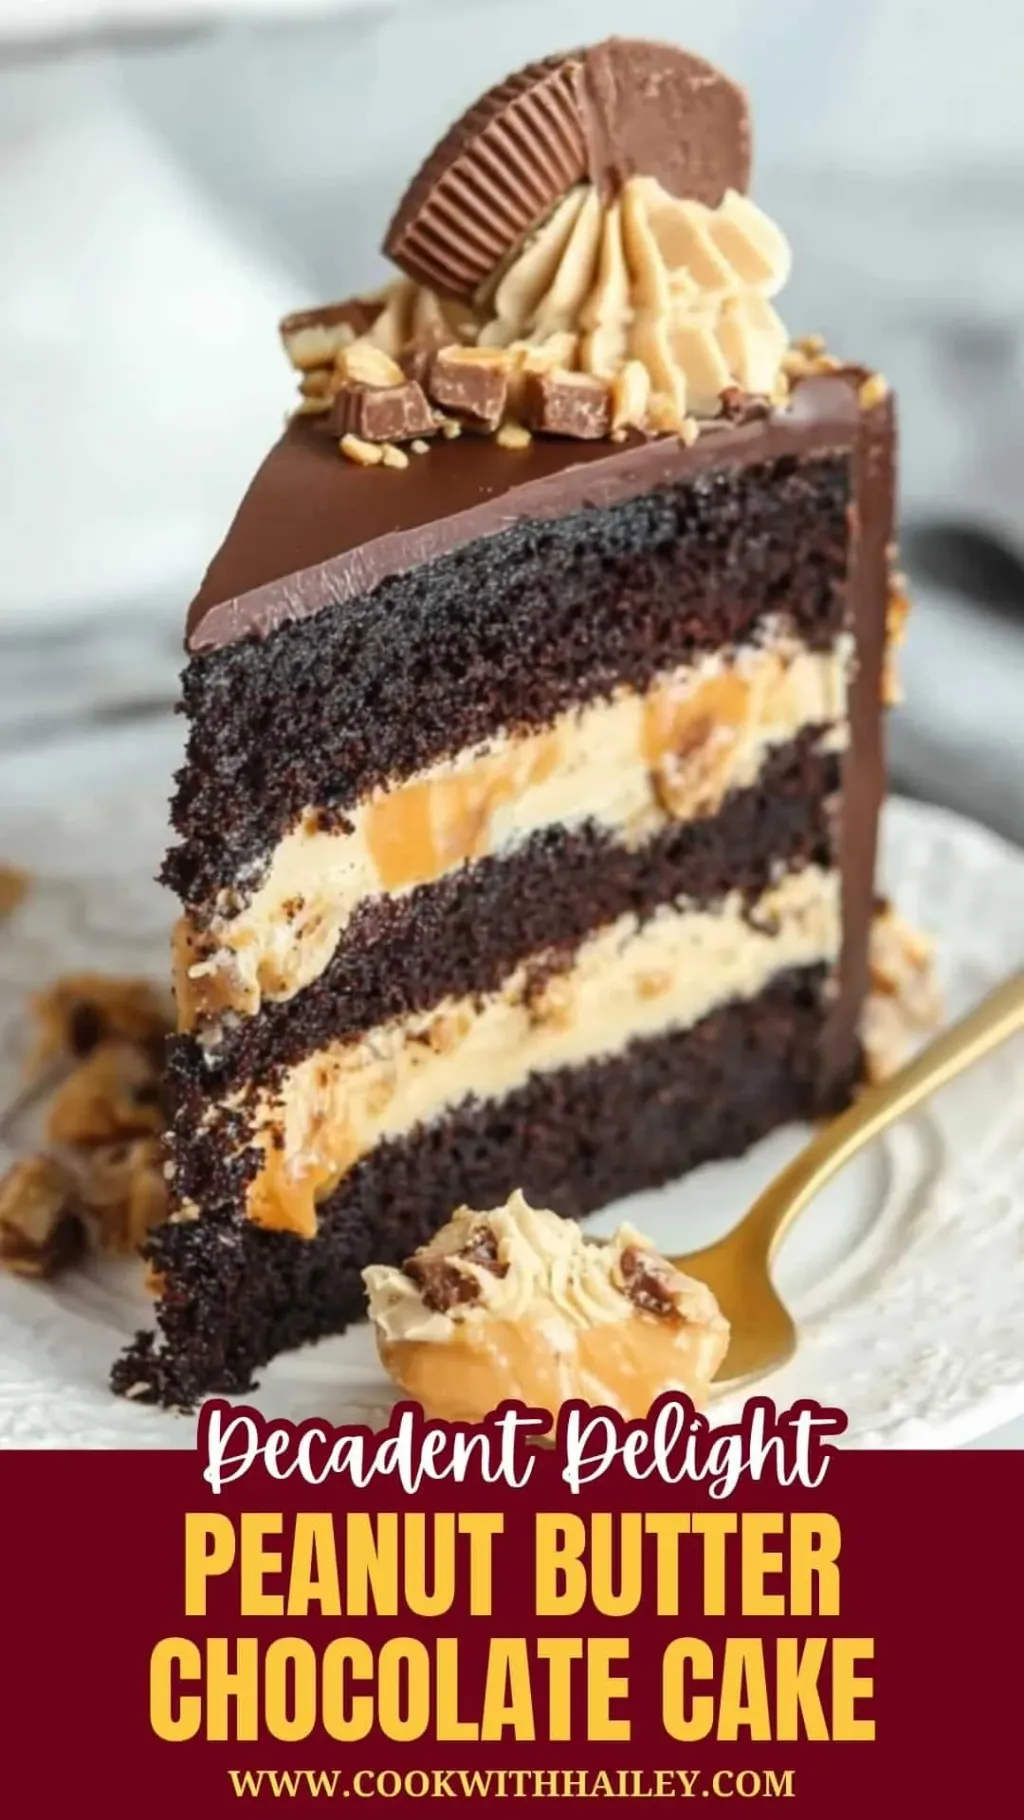

There’s something truly magical about the combination of rich chocolate and creamy peanut butter, and this Peanut Butter Chocolate Layer Cake Recipe delivers just that in every bite. It’s the kind of cake that feels special enough for celebrations but easy enough to make any day a little brighter.
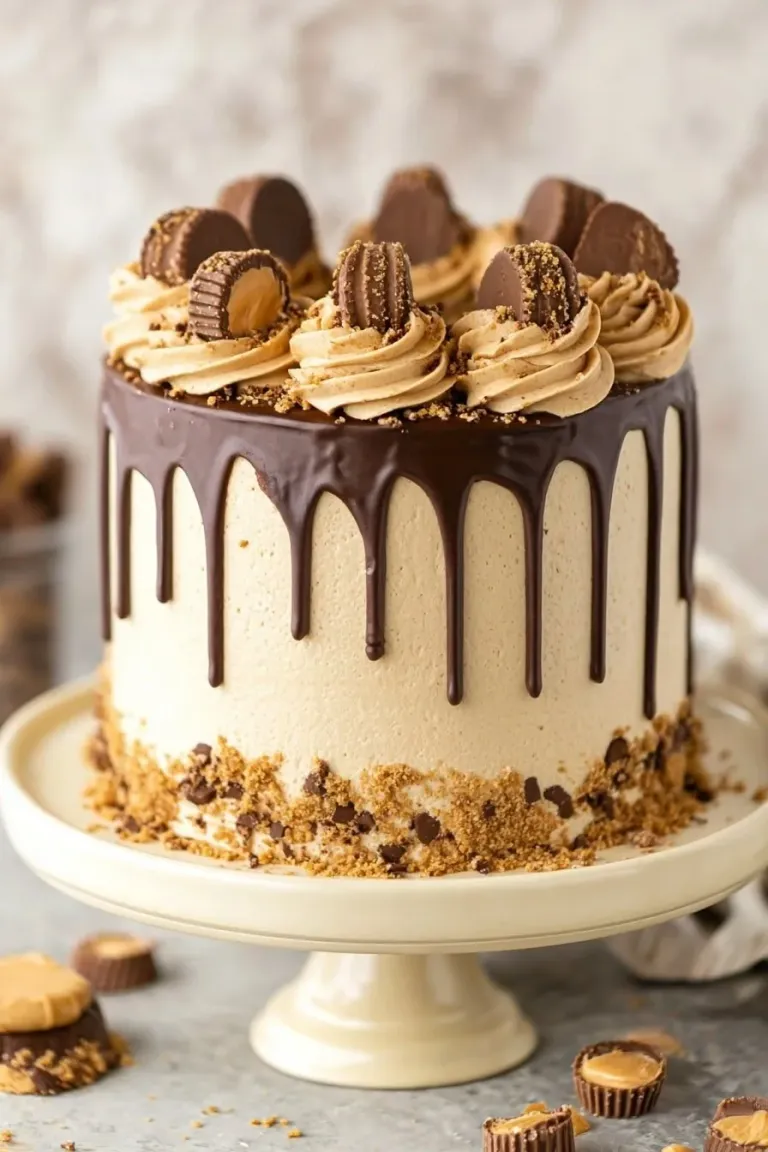
Why You’ll Love This Recipe
- Decadent Flavor Pairing: The classic combo of chocolate and peanut butter is perfectly balanced here—neither overpowers the other.
- Moist, Tender Cake Layers: Thanks to the hot water and oil, the chocolate cake layers come out super soft and fluffy every time.
- Generous Peanut Butter Frosting: Creamy, dreamy frosting with the perfect hint of salt to cut sweetness.
- Playful Reese’s Toppings: Chopped Reese’s inside and on top add a fun texture and peanut butter punch.
Ingredients You’ll Need
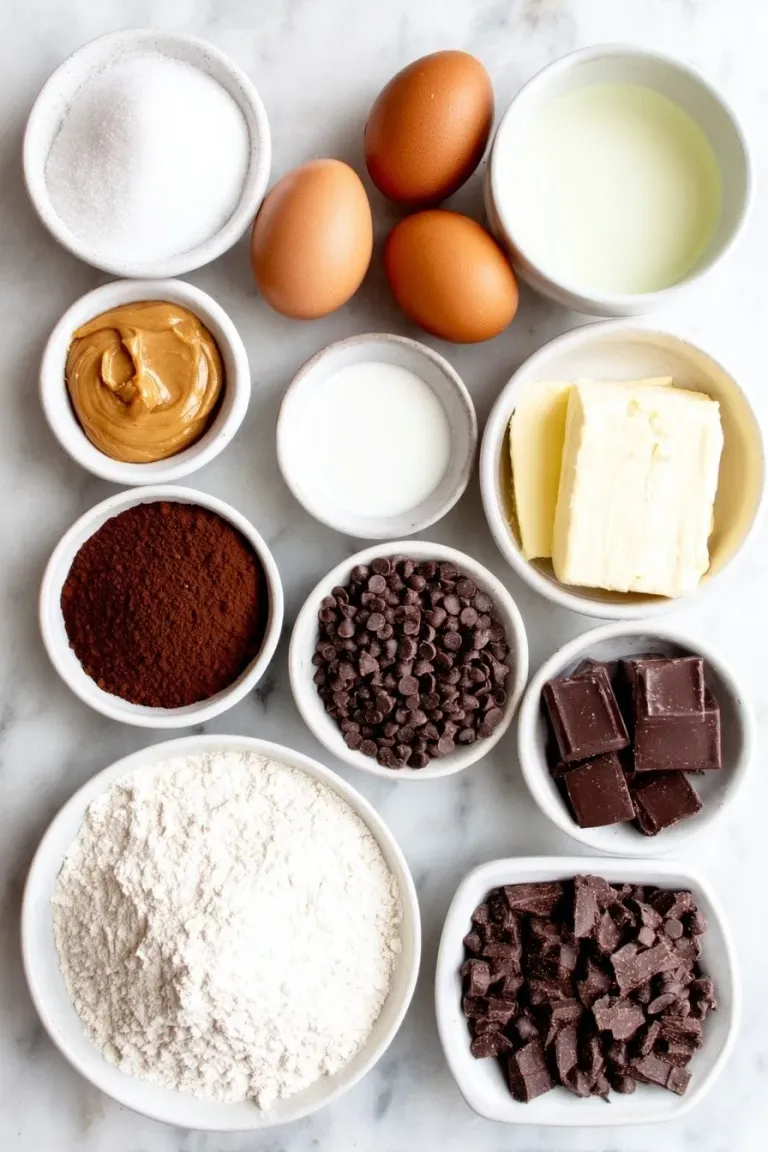
Each ingredient here plays a key role—whether it’s building that tender cake crumb or creating the luscious frosting. I recommend using good-quality peanut butter, and choosing natural cocoa powder for a deeper chocolate flavor.
 Save
- All purpose flour: Provides structure but keeps the cake tender—make sure it’s freshly sifted.
- Sugar: Regular granulated sugar balances sweetness and helps with moisture.
- Natural unsweetened cocoa powder: Adds rich chocolate intensity; natural works best here for flavor.
- Baking soda and baking powder: These leavening agents give the cake layers a lovely rise and light texture.
- Salt: Enhances all the flavors, don’t skip it.
- Milk: I use whole milk for creaminess, but any milk will work.
- Vegetable oil: Keeps the cake moist and soft—avoid butter here.
- Vanilla extract: A splash lifts all the flavors subtly.
- Eggs: Bind the cake and enrich the texture.
- Hot water: This is the secret to making the cocoa “bloom” and getting extra moist cake layers.
- Unsalted butter: For the frosting—room temperature is best for easy mixing.
- Peanut butter: Creamy style blends smoothly with butter creating that perfect frosting.
- Powdered sugar: Sweetens and thickens the frosting.
- Water or milk for frosting: Helps adjust frosting consistency for spreading.
- Reese’s (chopped and halved): For inside layers and decoration—adds texture and chocolate-peanut butter bursts.
- Semi-sweet chocolate chips: Needed for the shiny ganache topping.
- Heavy whipping cream: Used to make silky smooth ganache.
- Pinch of salt: Helps balance sweetness in the frosting.
Variations
I love tweaking this Peanut Butter Chocolate Layer Cake Recipe from time to time based on what I have or mood I’m in—feel free to make it your own and play around with add-ins and substitutions.
- Nut-Free Version: Use sunflower seed butter instead of peanut butter to accommodate allergies—I’ve done this for friends with great results.
- Dairy-Free Adaptation: Swap milk for almond or oat milk and use dairy-free butter to keep the rich frosting without dairy.
- Extra Crunch: Toss some chopped peanuts or pretzels in the frosting layers for an extra texture kick.
- Flavored Twist: Add a splash of espresso or coffee extract to the chocolate batter to deepen the chocolate notes, it’s a game-changer.
How to Make Peanut Butter Chocolate Layer Cake Recipe
 Save
Step 1: Prepare Your Chocolate Cake Layers with Care
Start by preheating your oven to 350°F (176°C) and greasing three 8-inch cake pans. I always line the bottom with parchment paper—it makes sure the cakes come out cleanly without sticking. Sifting together the dry ingredients (flour, sugar, cocoa powder, baking soda, baking powder, salt) in a large bowl helps avoid lumps and makes a tender crumb.
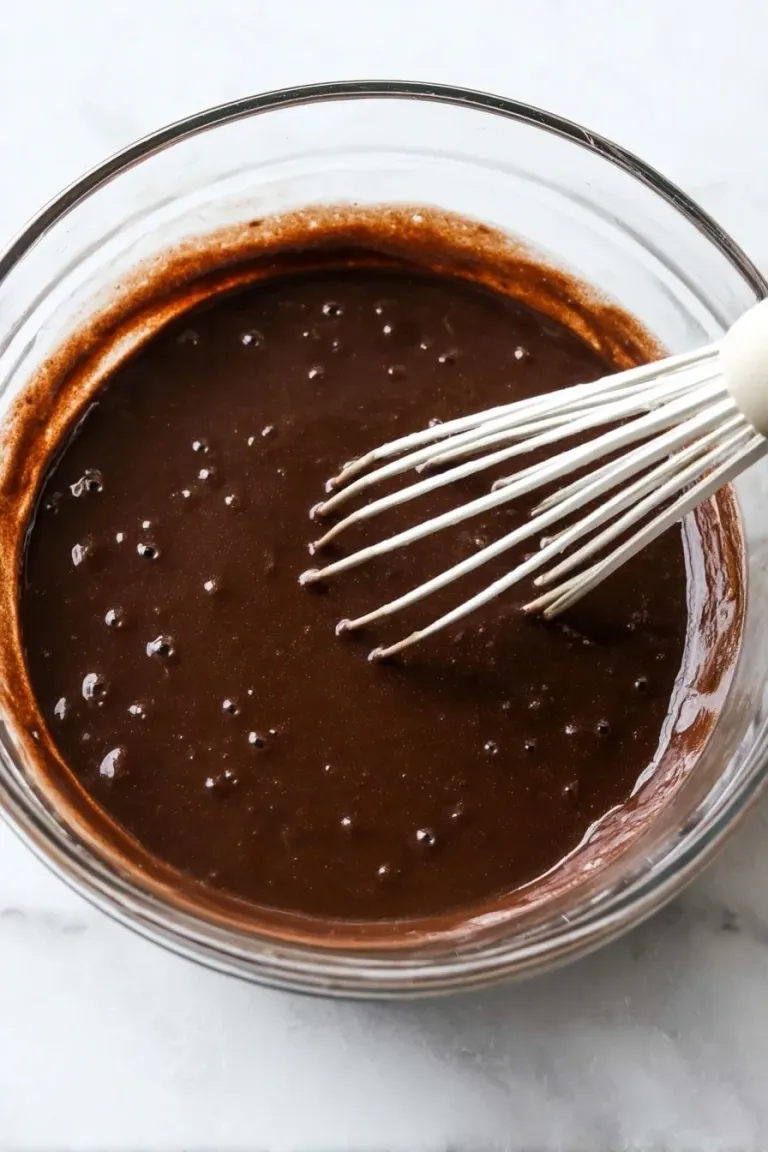
In a separate bowl, whisk the milk, oil, vanilla, and eggs until combined. Pour this into the dry ingredients and beat just until blended. Now here’s the crucial part: adding the hot water slowly while mixing at low speed. I’ve learned this step gives the cake that irresistibly moist texture, as the heat “blooms” the cocoa, enhancing the flavor and softness.
Divide the batter evenly between your pans and bake for 22-25 minutes. Keep an eye and use a toothpick to test—when it comes out with a few moist crumbs, they’re done! Let them cool in the pan for a couple of minutes before transferring to a rack to cool fully.
Step 2: Whip Up the Dreamy Peanut Butter Frosting
While the cakes cool, it’s frosting time. Beat the room-temperature butter and peanut butter together until creamy and smooth—that’s your luscious base. Add half of the powdered sugar and blend it all together. Then, add a few tablespoons of water or milk, which helps loosen the frosting just enough so it’s spreadable but still thick. After that, add the remaining powdered sugar, more liquid as needed, and a pinch of salt. Adjust the texture slowly because you want it thick enough to hold the chopped Reese’s pieces.
Step 3: Level, Layer, and Fill the Cake
When it’s time to assemble, I always use a serrated knife to trim the rounded tops off my cake layers. Level layers are easier to stack and look so polished. Start by placing one cake layer on your plate or cake board, then spread about a cup of frosting evenly over it.
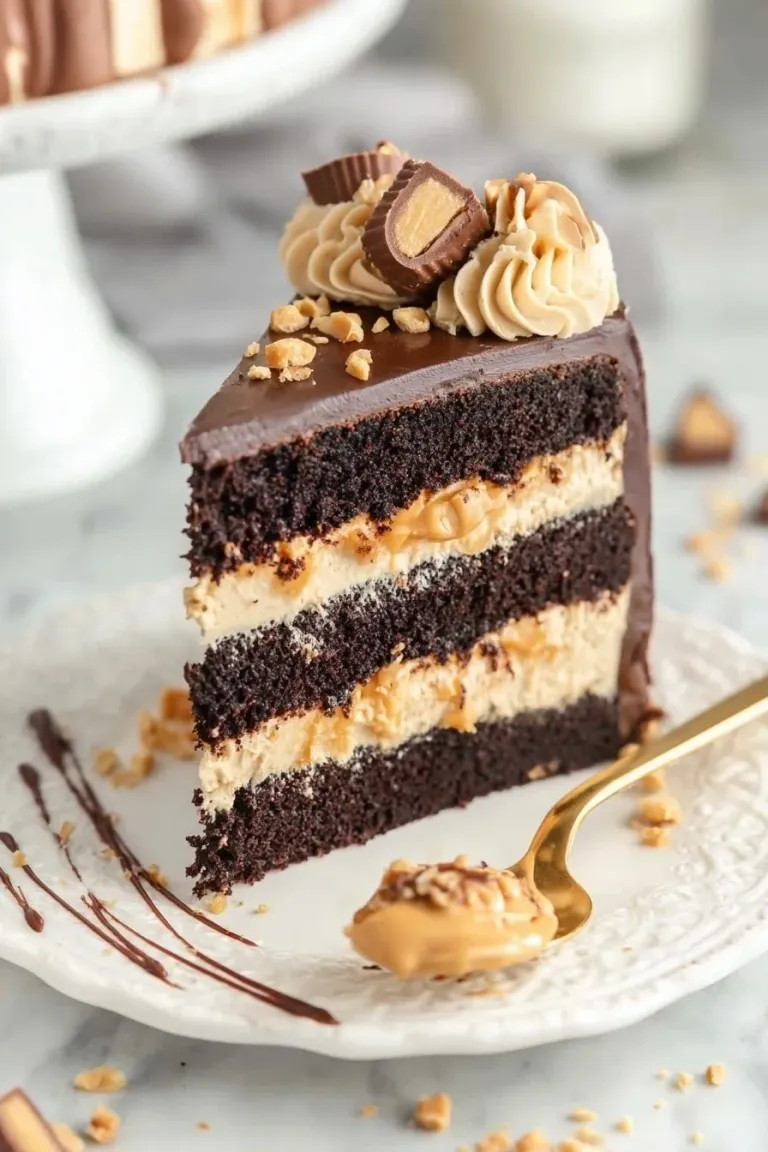
Here’s a little secret: sprinkle half of the chopped Reese’s on top and gently press them into the frosting. Then, spread a thin coat of frosting over the Reese’s to help the next layer stick better. Repeat with the second layer and remaining chopped Reese’s, then top it off with the last cake layer.
Step 4: Crumb Coat and Frost the Cake Smoothly
Apply a thin crumb coat of frosting all around the cake to lock in crumbs—trust me, this step makes the final frosting layer much easier to manage. After chilling briefly, add about a cup of frosting on top and smooth it out with an offset spatula. I love using simple stripes around the cake with my spatula for a rustic but impressive look. This is also where you pause before adding ganache.
Step 5: Make the Chocolate Ganache and Finish Decorating
To make the ganache, heat the cream just until it’s about to boil, then pour it over your chocolate chips. Let it sit a few minutes to soften, then whisk until perfectly smooth and shiny. Drizzle the ganache gently around the cake edges with a spoon or squeeze bottle, then fill in the top and smooth it out.
After the ganache firms a bit (around 10 minutes), pipe pretty frosting swirls on top using a star tip and top with halved Reese’s and crumbles for that extra wow factor. I always refrigerate this cake until shortly before serving; it helps the flavors meld beautifully.
Pro Tips for Making Peanut Butter Chocolate Layer Cake Recipe
- Hot Water Magic: Don’t skip adding hot water to your cake batter—it’s what gives the chocolate such a moist, tender crumb.
- Room Temp Butter for Frosting: Using soft butter helps your frosting come together smoothly without lumps.
- Level Your Layers: A serrated knife and a steady hand make all the difference for a flat, even cake.
- Chill Between Steps: Don’t rush—letting the crumb coat chill before the final frosting keeps crumbs from mixing in, making for a beautiful finish.
How to Serve Peanut Butter Chocolate Layer Cake Recipe
 Save
Garnishes
I personally love topping mine with extra Reese’s halves and a sprinkle of Reese’s crumbles—it just amps up the peanut butter-chocolate vibe. For a final touch, a dusting of cocoa powder or some chopped peanuts scattered on top gives a nice visual and textural contrast.
Side Dishes
Serve slices alongside a cold glass of milk or a strong cup of coffee to balance the richness. If it’s a party, some fresh berries on the side cut through the sweetness nicely.
Creative Ways to Present
For birthdays or celebrations, I like placing colorful sprinkles between the frosting layers or around the edges for a fun surprise when cutting. You can also pipe peanut butter rosettes around the base or rim of the cake to make it pop.
Make Ahead and Storage
Storing Leftovers
Leftovers keep beautifully wrapped in the fridge for up to 4 days. I find keeping the cake covered tightly with plastic wrap or an airtight cake container locks in moisture and flavor perfectly so it never dries out.
Freezing
You can freeze the cake after assembling but before adding ganache and final decorations. Wrap it tightly in plastic wrap and foil, then thaw overnight in the fridge. For best texture of frosting and ganache, I recommend decorating fresh after thawing.
Reheating
Because it’s a cold-frosted cake, I usually let slices sit at room temperature for about 15-20 minutes before serving to soften up the frosting. Avoid reheating in the microwave or oven; it affects the texture of both cake and frosting.
Final Thoughts
I absolutely love how this Peanut Butter Chocolate Layer Cake Recipe comes together—it’s truly my go-to when I want to impress without stress. The blend of velvety chocolate cake, peanut butter frosting, and those delightful Reese’s pieces always make my family go crazy. Trust me, once you try it, you’ll find it hard to bake any other cake. Give it a go and enjoy every luscious bite!