
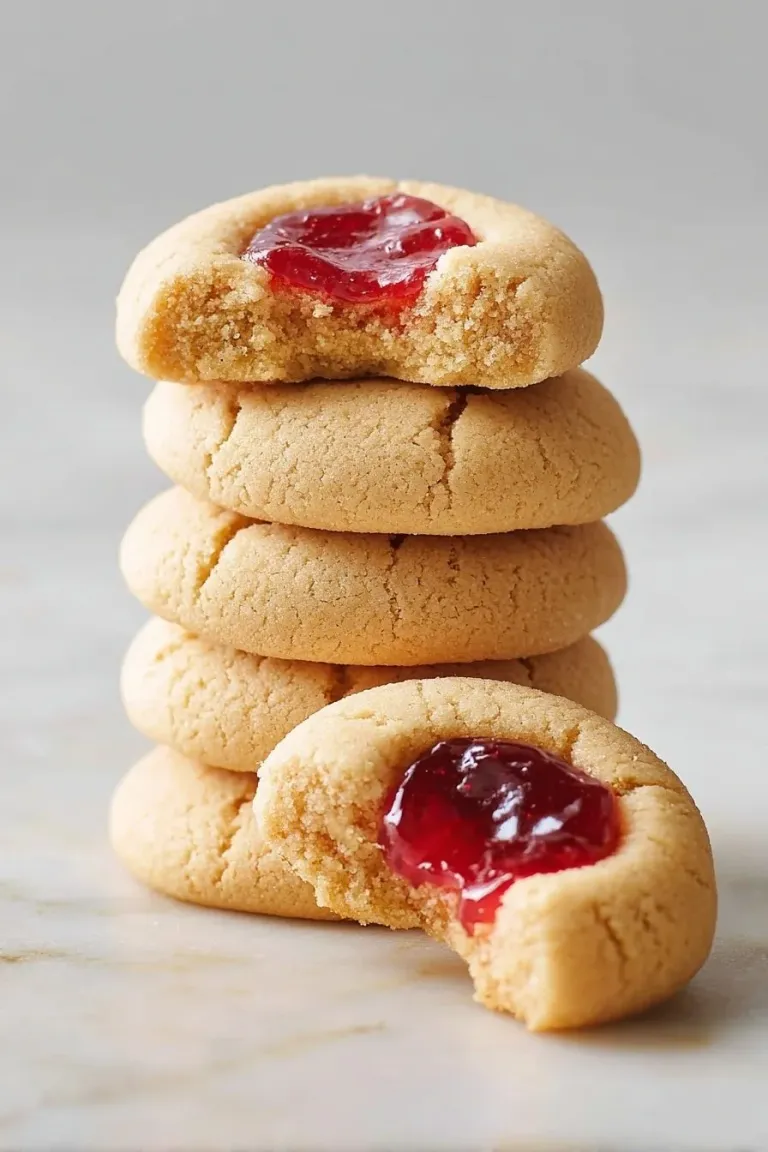
There’s something about the perfect balance of creamy peanut butter and sweet jam that just hits the spot, and this Peanut Butter Thumbprint Cookies Recipe captures exactly that. These cookies have that nostalgic charm with a delightfully soft texture and a burst of jammy goodness right in the center. You’re going to love how easy and satisfying they are to bake!

Why You’ll Love This Recipe
- Simple Ingredients: You probably have most of these pantry staples on hand already, making it quick to whip up.
- Perfect Texture: Soft, slightly crumbly cookies with a gooey jam center – a contrast that’s just irresistible.
- Customizable Flavor: Pick any jam you love—the recipe works beautifully with raspberry, strawberry, or even grape.
- Great for All Skill Levels: I used to struggle with thumbprint cookies, but this method makes it foolproof every time.
 Save
Ingredients You’ll Need
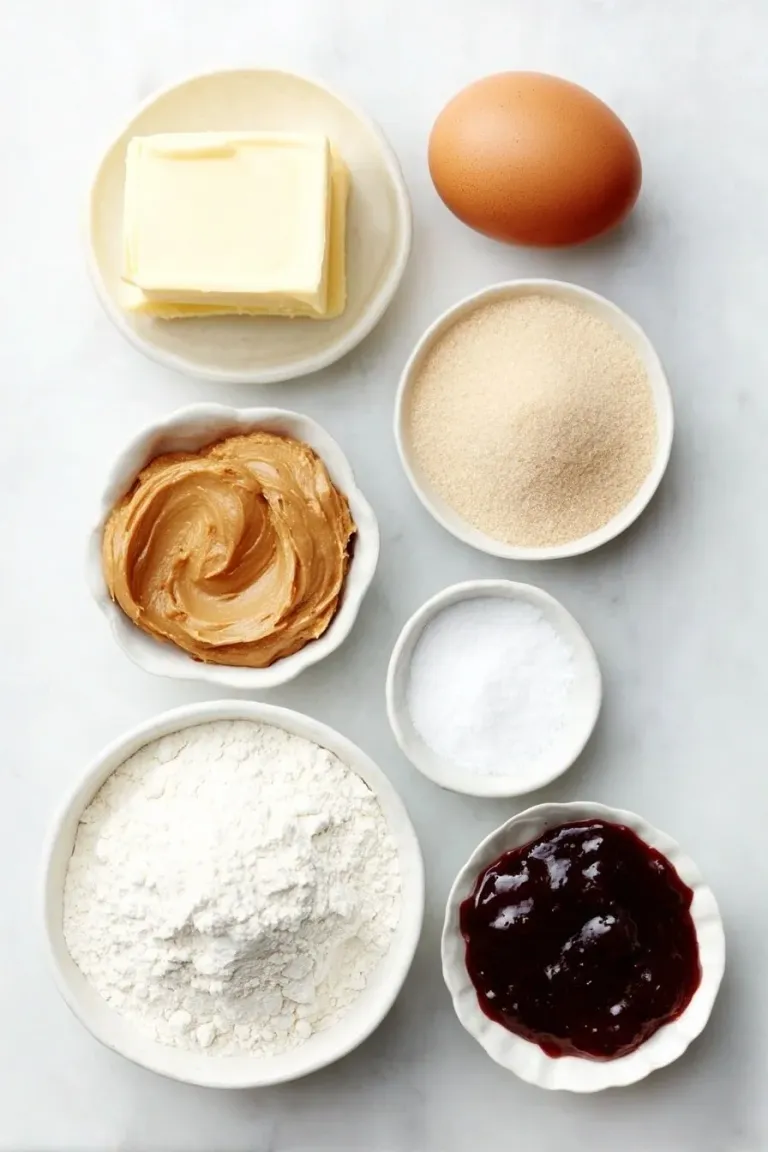
This Peanut Butter Thumbprint Cookies Recipe relies on a few classic ingredients that blend perfectly to give you rich peanut butter flavor and tender cookie dough. Pay attention to quality peanut butter and fresh baking soda for the best results.
 Save
- Butter: Use unsalted and softened butter to control salt and ensure smooth mixing.
- Sugar: Regular granulated sugar helps with sweetness and texture.
- Brown sugar: Adds a touch of moisture and caramel flavor.
- Peanut butter: I always go for smooth peanut butter here—it blends more evenly into the dough.
- Vanilla extract: This gives a warm, sweet background note to enhance the flavors.
- Egg: Acts as a binder, keeping everything together just right.
- Flour: All-purpose works well for the ideal crumb and structure.
- Baking soda: Helps the cookies rise just the right amount.
- Salt: Just a pinch to balance out the sweetness and enrich flavors.
- Seedless jam: Pick your favorite flavor—seedless keeps the texture smooth and pleasant.
Variations
One of the best parts about this Peanut Butter Thumbprint Cookies Recipe is how easy it is to make it your own. I’ve experimented with a few twists to mix things up, and you might enjoy trying some too!
- Jam flavors: I always switch between raspberry and strawberry jam, but blueberry is a fantastic surprise for the taste buds.
- Nut butter swap: Sometimes I swap peanut butter for almond butter to mix up the nutty flavor.
- Chocolate drizzle: When I want to treat the family, a quick drizzle of melted chocolate over cooled cookies makes them irresistible.
- Gluten-free: Substitute the all-purpose flour with a gluten-free blend; just be mindful of texture differences and adjust baking time slightly.
How to Make Peanut Butter Thumbprint Cookies Recipe
Step 1: Cream the butter and sugars
Start by preheating your oven to 350ºF and lining your baking sheets with parchment paper. Then beat together the softened butter, granulated sugar, and brown sugar until the mixture looks light and fluffy. I make sure to scrape down the bowl sides occasionally so everything is evenly mixed—this prevents stray lumps and ensures every cookie tastes consistent.
Step 2: Add peanut butter, vanilla, and egg
Next, mix in the smooth peanut butter until it’s fully combined with the butter and sugars. Then beat in the vanilla extract and egg. This creates the lovely flavored base for your dough, silky and ready for the dry ingredients.
Step 3: Incorporate the dry ingredients carefully
Now, sift together the flour, baking soda, and salt. Add these dry ingredients gradually to your peanut butter mixture, stirring just until the flour disappears. Don’t overmix here! Overworked dough leads to tough cookies, and we want soft, tender bites with the perfect snap. The dough should be thick and hold its shape.
Step 4: Shape and create thumbprints
Using a cookie scoop or tablespoon, scoop out dough balls roughly 1 ½ inches in diameter and space them on your sheet tray. I usually leave about 1 ½ inches between cookies so they don’t spread into each other. Press down gently with your palm to flatten slightly, then use your thumb or the back of a spoon to press a shallow circular indent into the center—aim for halfway down so the dough stays sturdy enough to hold the jam.
Step 5: Fill with jam and bake
Fill a piping bag with your chosen seedless jam, cutting a small hole at the tip for control. Pipe about half a teaspoon of jam into each thumbprint. I find this method much neater than spooning jam, which can be a bit messy and uneven. Bake the cookies for 12 to 14 minutes until their edges turn just slightly golden—this browning keeps them from collapsing under the jam’s weight. Let them cool on the pan for 10 minutes so they firm up perfectly before transferring.
Pro Tips for Making Peanut Butter Thumbprint Cookies Recipe
- Use Room Temperature Butter: Softer butter blends more smoothly with the sugar, giving your dough a better texture.
- Don’t Skip the Cooling Time: Let the cookies cool on the tray so they set properly; this prevents the jam from sinking.
- Piping Bag for Precision: Filling the thumbprints with jam from a bag helps avoid spills and keeps each cookie neat.
- Watch Baking Times Closely: Edges turning golden is your cue to pull the cookies out – underbaked dough won’t hold the jam well.
How to Serve Peanut Butter Thumbprint Cookies Recipe
Garnishes
I like to sprinkle a tiny pinch of flaky sea salt over the jam right after baking—it brightens the flavors and adds an extra layer of delicious contrast. Sometimes, I add a light drizzle of melted dark chocolate over the top for a decadent touch that really wows guests.
Side Dishes
These cookies go wonderfully with a cold glass of milk or a warm cup of coffee or tea. For brunch or a cozy afternoon snack, I like to serve them alongside fresh fruit or a simple yogurt parfait to balance the sweet richness.
Creative Ways to Present
For special occasions, I arrange the cookies in a circle on a pretty plate with dollops of whipped cream or fresh berries in between. Another fun idea is to put them in little gift boxes tied with ribbon for sharing during holidays – they’re always a crowd-pleaser!
Make Ahead and Storage
Storing Leftovers
Leftover cookies keep best stored in an airtight container at room temperature for up to 3 days. I recommend layering them between sheets of parchment paper to prevent sticking, especially since the jam can get a bit sticky over time.
Freezing
I’ve frozen these cookies successfully by first placing the baked and cooled cookies on a tray to freeze individually, then transferring them to a freezer-safe container. They keep well for up to 2 months and thaw quickly at room temperature without losing their texture.
Reheating
To gently warm the cookies, I pop them in the microwave for about 10 seconds or reheat them in a low oven (300ºF) for 5 minutes. This brings back that soft, just-baked feel especially if you froze them overnight.
Final Thoughts
I absolutely love how this Peanut Butter Thumbprint Cookies Recipe turns out every time and how it brings back warm memories of sharing cookies around the kitchen table. It’s a simple recipe that feels special, whether for everyday snacking or gift-giving. Give it a try—you’ll enjoy the melty jam center and buttery peanut butter dough just as much as my family does!